Tuesday, 17 July 2018

Barbie's Wardrobe is Growing! McCalls 1970's Doll Clothes Patterns Come Alive!

So I'm getting the hang of Barbie clothes making again. 

I do recall trying to make some as a kid. But maybe two outfits as they were so small. 

For me, I have organized clear shoe boxes full of scrap fabrics screaming to be made into something. 

I have nieces with outdated Barbie clothes for their dolls.

And I have a sewing machine & Imagination. 

I took the chance and ordered to McCalls Barbie Doll clothes Pattern #869 from a random Etsy seller - Gail's Vintage Doll E-Patterns 

The pattern pieces print out on normal 8.5" x 11" paper, and are labelled well, thus no confusion as to what pattern pieces are for which outfit. 

There are a total of 12 outfits, and I made most of the pieces. 

Here are the outfits:

A) Ruffled Mermaid Dress - Ankle Length


I used some sparkly spandex (pretty sure all the patterns request woven, but I used what I felt fit modern Barbie), tulle, and light complimentary knit fabric. 

For the top hem, I used pink Bias tape. 


The pattern asks for snaps at the back, however, as I used stretch spandex, I sized down slightly at the sides, and it just goes on and off without snaps, but stays in place due to the curves.


I like the bottom ruffles-  they're fun & flirty!

2) Knee length dress with Bow


The next dress is made from woven suiting fabric.  

I used stretch ribbon for the "strap," and regular ribbon for the bow. 

I'm awful at tying bows, but this one isn't bad. 


I did use snaps for this dress as per instructions, and the dress doesn't fit too bad for a first woven attempt!

There's a few darts, a few snaps, and a lot of pretty!


C) Short Ruffle Dress


This is the short version of Dress A - I used another stretch spandex for the main portion, and black tulle for the ruffles. 

I also used rick rack for the straps (which tie into bows), which are okay, but not my favourite look - next time I'll go with normal ribbon. 

Just like with Dress A, I sized down a bit due to the spandex, and the fit is decent.  Not perfect, but it still looks cute!

This was an easy sew with darts - and it fits Barbie's curves!

D) Two Piece Dress - Peplum Top & Separate Skirt 


The next outfit is a two piece - a Peplum Top & Skirt.

I used woven cotton fabric, and it really pops with the bias tape on the top edge!

The Peplum is two pieces sewn together with some gathering, and the skirt has an elastic waistband, so easily goes on and off of Barbie. 

This was quick, easy, and still stylish these days!


E) Wrap Dress


The wrap dress entails a few pieces that are easily sewn together. 

I used a light crepe type fabric for this pattern, finished off with a simple ribbon belt.

There are snaps at the waist the keep the dress from peeping open and the best to finish off the look.


The lighter the fabric, the more this dress will drape.

Remember that the iron is your friend - especially when it comes to circled hems. Press, then sew in order to alleviate hem creases. 

I also finish the edges before hemming with a zig zag stitch to prevent future fabric freying, as the hem is only one fold.

The shoulders poof out a bit, but other than that, it's a cute dress for Barbies of any decade!


F) Camisole Set & G) Robe


I used a barely stretch knit fabric and lace for the housecoat. 

It was a simple sew, and finished off with a ribbon sash. 

The fit is on par, and Barbie seems to like it too.


But what Housecoat is complete without something underneath it?  Unless you're in X-rated Barbie land! 

Underneath the robe, Barbie sports a two piece camisole set.


It's made from cotton John Deere Fabric, Lace, and a few snaps at the back of the top to keep it together.

The instructions state materials in yardage - even for ribbon lengths, so all the ribbon I just guesstimated at, and didn't cut until I was finished sewing with it.

For the straps, I put the top against Barbie, and guessed the length - 3" seemed to be a good length for each strap without showing her cleavage.

I kind of want this outfit for myself!

H) Thigh length Coat and K) Slanted Top, and Shorts


The next outfits I opted to make were the short coat, which has a sewn in (attached) scarf and one button at the top.

I forgot the belt, hence the really large appearance.

This is the same coat pattern as the robe, but without the lace trim.


I paired it with the Shorts from patterns J & K, and the edgy top from pattern K.


The top has short sleeves, snaps on the back, and an angled appearance.

I made this from some sweater knit, and it looks pretty neat!


I made two pairs of shorts, as we tend to make more tops vs bottoms, and Barbie needs some bottoms.


If she were human, there is some bunching in the crotch area, so albheit not perfect, they seem to fit her well!

I opted to not make the long sleeved top version, as I have some other tops I'd rather sew up. 

And I failed at the bra top for pattern J (I was really tired), so went, "Meh," and decided it was too racy for my nieces anyhow.

J) Leggings


I found the leggings although simple to sew up, just didn't fit right - if Barbie were human, she'd have major camel toe here. 

I did use spandex...but the fit shouldn't be that bulky.  

But they look ok under a skirt. 

I think I'll cut the feet off like real leggings, and just have her wear them like that to take away some of the bulk. 
Overall, the outfits were simple to print out and make, the instructions were basic and easy to follow, and by following the 1/4" guide on my sewing machine, I was able to make the proper sized seams. 


I finished the edges of the woven fabric with zig zag stitches, and was happy to use up a bunch of scrappy fabrics and ribbons for this particular wardrobe. 

If you like these patterns, you can purchase them here

It was a whopping $3.41 Canadian for all 12 outfit patterns!


Thursday, 12 July 2018

Sewing Pattern Review: Twig & Tale's Breeze Top

The Twig + Tale Breeze Shirt is made for warmer weather, using lightweight fabrics to give both a nice flow and protection from the sun.


And it's one of the few tops that I have made that Husband compliments each time I wear it (okay, ones that bear cleavage always get a Va-voom). So he approves of the overall fit and style!


It has a few options - shirt length or tunic length.


I opted for the shirt length, which for my 5'2" height, is kind of tunic length. 


I found the tunic length too long for me, so just didn't adjust the height on the shirt length for the perfect fit.


The tunic length would come half way down my thighs, so would be more of a short dress than what I see as a tunic - which is perfectly fine.  But lacking an easy access fabric amount(aka fabric I already had), shirt length it was for my second Breeze!


The other options the Breeze includes are:
- Short, Flutter, or long sleeves
- Shirt or tunic length
- Straight or curved hem
- Option for split hems and sleeve tabs
- Optional back elastic for shaping


So I opted for: Shirt length, Curved hem, Flutter sleeves.

I used some shirting fabric I'd been gifted from my mother-in-law's sisters stash when she recently downsized her home (win-win for my sewing room stash!),  It's a nice light fabric, and really is quite comfortable and I adore the sleeves and neckline! 


The back I opted to keep without the elastic, and I like the looser look on this particular top. 

As you can see, it even hugs my hips nicely without being too tight.


The shirt is mainly measured by the bust, and I graded down to my hip size for the perfect fit.  It ranges from bust measurement 30" to 51.5" as a reference. 


As you can see, when my arm is straight down at the sides, the flutter sleeve looks like a normal sleeve, but once the arm moves, the sleeve flutters!  I find this sleeve gives the shirt a very feminine look.


Overall, the sewing experience was simple - the instructions are easy to follow with detailed pictures and even video tutorials for those of us who are REALLY visual! 

You even get the chance to sew French Seams (which really aren't that scary, and give a finished look inside) - so making your clothing look that much more professional.

The Breeze isn't just for women though - it's for Children, Women, AND Men! 

If you haven't sewn up Twig + Tale Patterns before, this is a great intro into a year round comfortable feeling top that is simple to grade to size and fits like a nice comfortable mitten.

And get $3 off your first purchase (minimum cart of $10 after discount) by clicking here!

Sew On!


Tuesday, 10 July 2018

Sewing Pattern Review: Bella Sunshine Designs Sophia Racerback

***ON SALE July 10-18!

Ladies:  Regular $10 - Release $6.50 w/code BSDSophia

Girls: Regular $9 - Release $5.50 w/code BSDSophia

Bundle it up: Regular $17 - Release $10 w/code BSDSophiaBundle


I love a good tank top. 

I also love clothes that are more flowy and less tight fitting for daily wear, or hanging out. 

The Sophia is a knit racerback pattern with a lovely flowy bottom.


I sewed up size 4 overbust without grading for waist/hips as usual (I'd grade to a 12/14 for waist/hips otherwise).  

I did this for a few reasons: 
1) Lack of fabric that was flowy enough
2) I didn't want it to look TOO big on the bottom

The end results?  A top I feel comfortable in, and love to show off!

The armcycle is great on me and not too tight despite my larger biceps (vs biceps on a "store model" comparable size), and my fabric flows nicely without weird bulges. 


I can wear this with my racerback bras, regular sports bras, or even my sultry lacy bras with a little somethin' somethin' showing on my back. 

I'm 5'-2", and didn't shorten it, as I generally like longer length tops - this means I can wear this Racerback with leggings, but not show my big caboose to the world. 


The sizing for ladies is as follows:
- Overbust: from 30" to 59.75"
- Waist: from 23.5" to 53.5"
- Hips: from 33" to 59.75"
- Bicep: from 9.75" to 22.5"

You can also purchase the pattern for Girls sizing from 6 months to 12 years old as well! 

My first top was made with a very light sweater knit (which can show every bulge and bump with the wrong pattern) and another random light sweater knit for the purple bindings. 


My second top was made from Double Poly Brushed fabric, and is so soft. I want to pet it and snuggle with it. 


I'm weird. 

This pattern took about an hour or so from cut to finish, and the instructions are simple to follow.  

I didn't even have to use my seam ripper on either top!  

This doesn't happen often. 

I've made one other Racerback pattern previously, and the Bella Sunshine version is definitely easier and I just love the different flattering shape in comparison with your typical Racerback.  

I feel you will too!

Sew On!


Monday, 9 July 2018

Sewing Pattern Review: Rebecca Page's Peggy Pencil Skirt

The Peggy Pencil Skirt is a SUPER quick and easy ladies knit pencil skirt pattern that is both elegant and sleek. 

It's now part of the Rebecca Page Office Collection - a 5 Pattern Bundle for 40% off!

It honestly takes less time to cut and sew up this skirt than it does for the wash cycle to complete in your laundry room. 


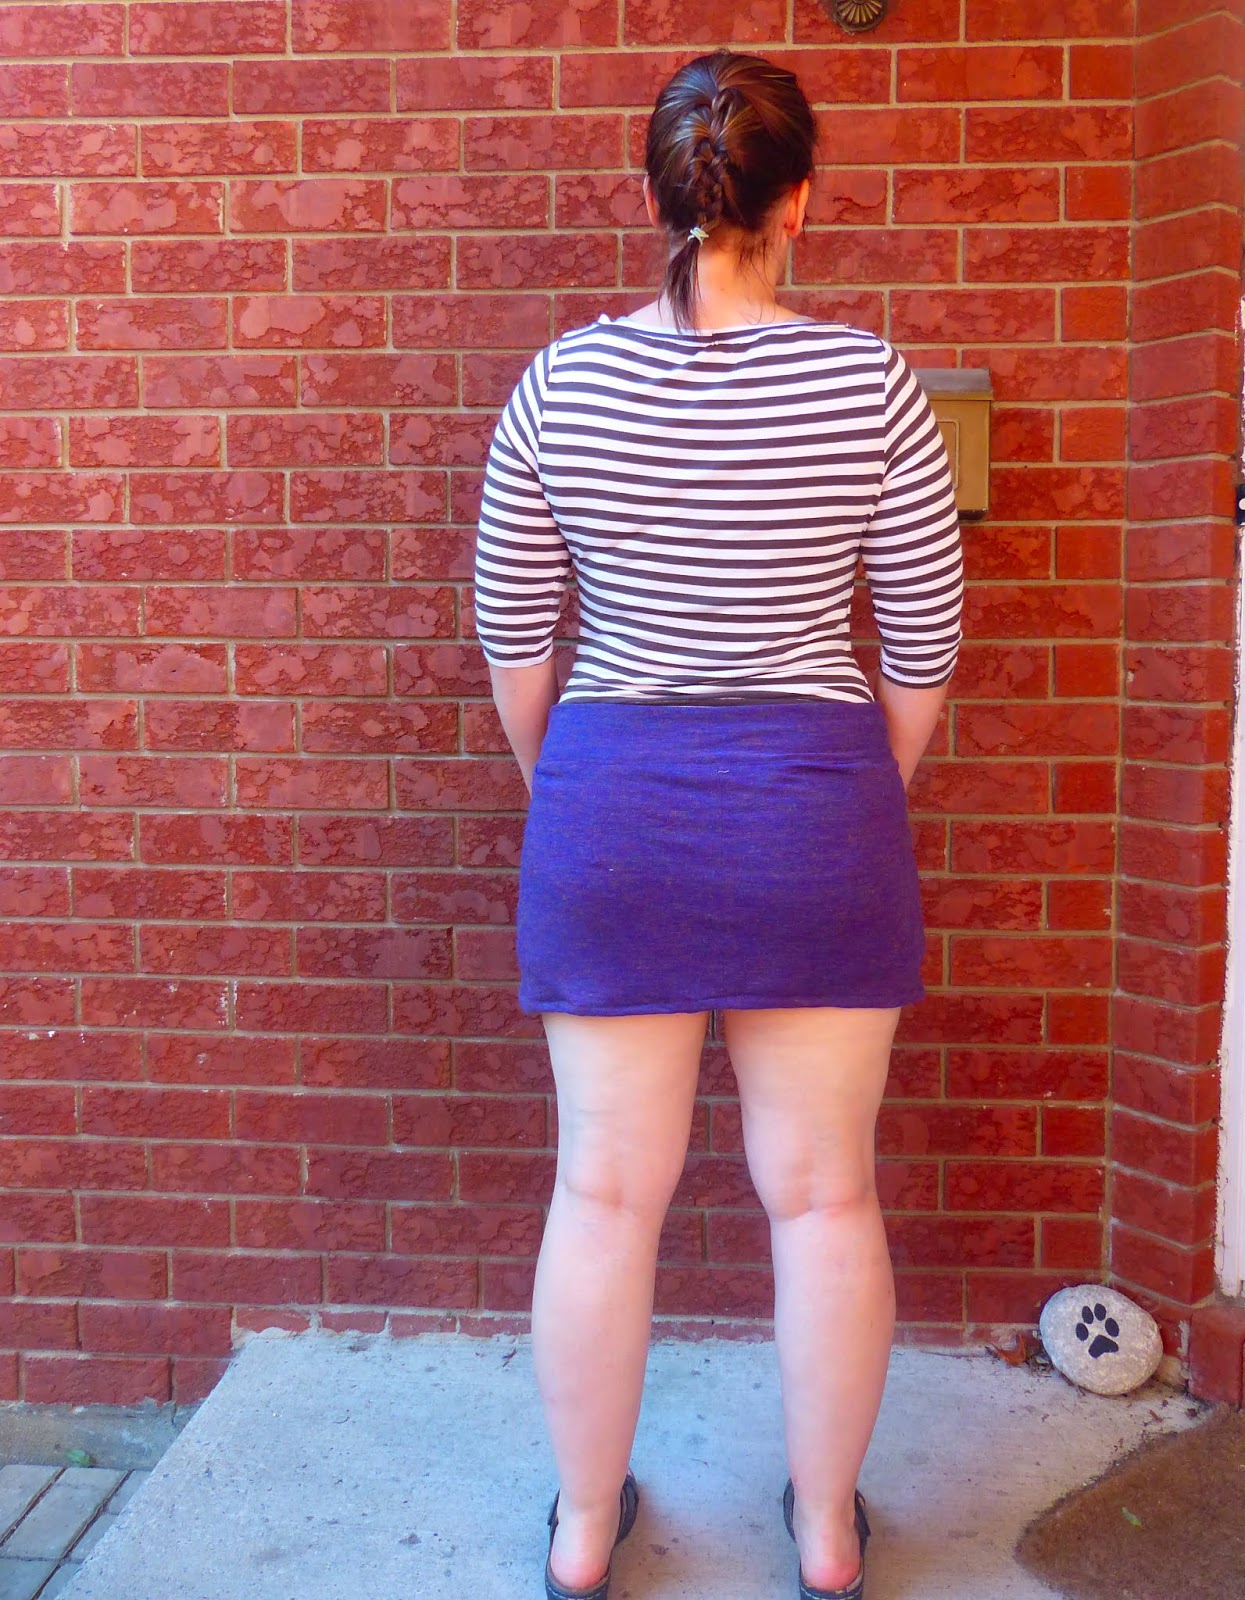
Mini Length with the Chloe Cami
Midi Length with the Monte Carlo


I made my two skirts while watching one episode of "The 100." 

That was a good episode!

The skirt comes with 3 different length options: Mini, Knee, and Midi - and a walking vent or straight seam. 

This is a great introduction to sewing with knits (and Rebecca Page!), and can be sewn with fun or serious fabric for both play and the office. 

The mini is the perfect length on it's own for a fun night on the town or over leggings to cover your caboose!
Paired with my Paris Party Dress Top!


The Midi length is a nice summer length for those cool nights where you want some leg coverage, or the office where it's always too cold. 


It ranges from sizes XXS to 5XL and is flattering for the behind in a good way!

I used my trusty sewing machine (no serger here), as the instructions are for both serger and "plain jane" machines.  And as usual, the instructions are detailed both in verbiage AND photographs. 

I didn't even have to use my seam ripper (always calls for a round of applause)!

So try out the cute simple Peggy Pencil Skirt today - you won't be disappointed!