Husband also hates my years old Lululemon sports bras - the comfortable bras I discovered after having a hate on with my La Senza wired and non wired bras.
He DOESN'T UNDERSTAND THIS FEELING:

So not only am I on the search for a comfortable supportive bra, but one I can wear all day and night, and not really care that I have it on.
Being alluring would be helpful too - then Husband would approve and stop making fun of my undergarments.
Honestly - they aren't too difficult - just follow each step of the instructions, and each bra and panty you make will just get easier.

I made these from an old stretch cotton work shirt and lace from some random Ebay store. The lining I already had from my stash.
My fold over elastic is from In the Pink Room - a fabulous notions store from Nova Scotia.
The panties were quite simple to assemble, and I love the lace detailing. It's also a great scrap buster.

For wearability, they don't ride up or move throughout the day, I can Yoga in them, and the gusset it the perfect comfortable size for me.


I would use a super stretchier lace next time as they are about 1/4" tight on my hips (maybe that's just me, as I made them about 6 months ago), but otherwise, the part that matters (down under) is awesome.

I think these were the second Bra and Panties I sewed up - again, with that Ebay random stretch lace.
Reading the sewing instructions also got me into the habit of sewing my stretch clothes with a proper stretch stitch. I only have a sewing machine (no serger or coverstitch machine).
I blogged about the Mama Victoria (Panties) and Mama Bridgette (Bralettes) in a previous post - you can read up about them there.


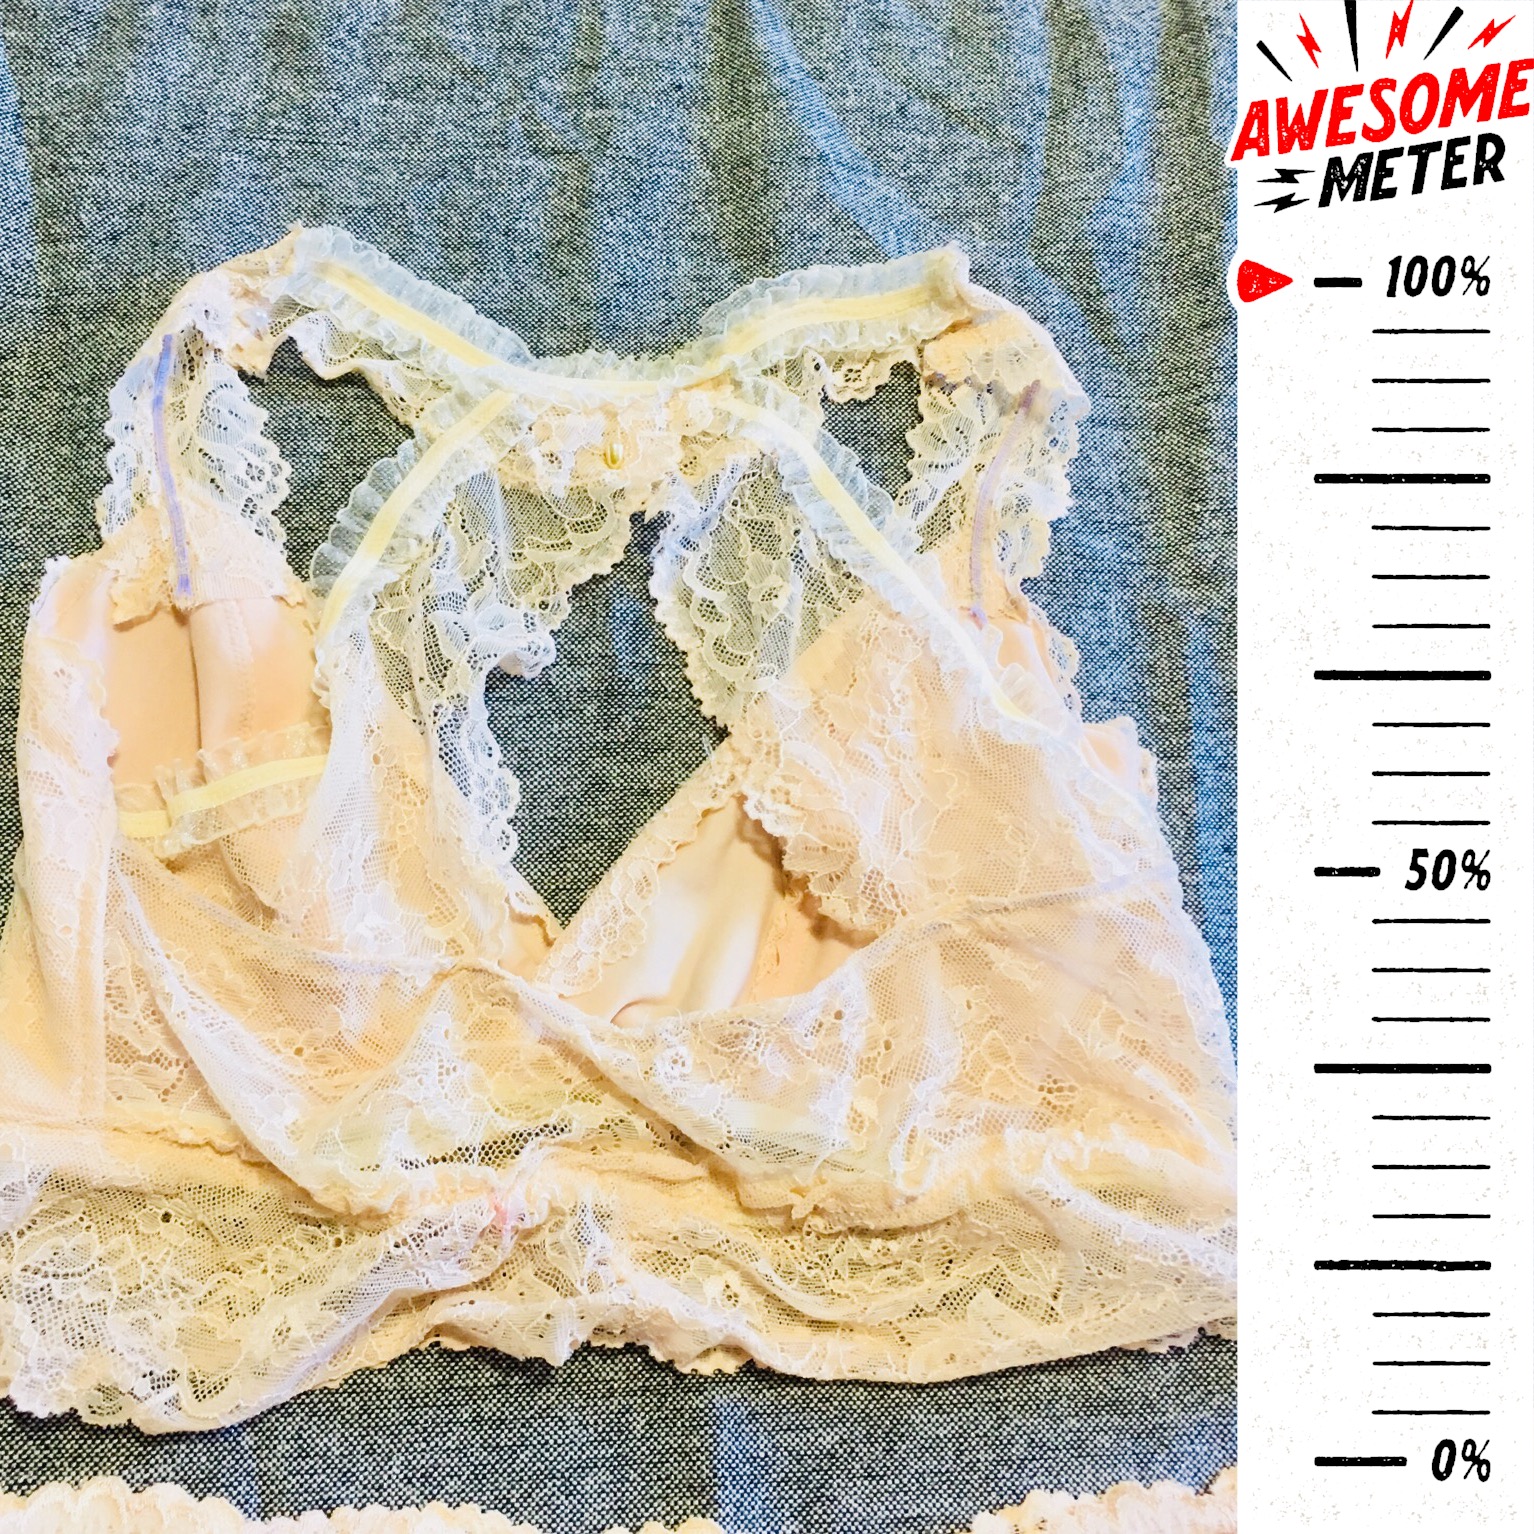
I still have to make these again for the perfect fit - and after my recent experience, I feel I will perfect the bras.
I'm wearing my Victoria Panties today, and honestly I feel like I'm wearing nothing, and haven't had to adjust.
For me, that's a winner. I even plan on practicing my T25 Workout and Yin Yoga later on tonight in them.
They're just that comfortable.
I prefer the Full Back Bridgette (comfort), whereas Husband prefers the Cross Back Bridgette (sexier). I also have Tech neck and have worked in front of a computer for the last 16 years, so any strain on my shoulders and neck is annoying.
3) Lovesick Bra - George + Ginger

Ok, I lied. THIS was my first bra.
I made it from fun two way stretch cotton lycra (the Gnomes) and super stretchy lightweight cotton lycra (stripes) - both scrap bits and bobs (unsure where I purchased the fabric from).
It was fairly straight forward to put together, and I was able to adjust the straps so they fit without falling off.
I did find the fit quite tight along the armpits and the band, despite measuring myself first - so I am pretty sure this one ended up in the "place we don't speak of."
I will reattempt this pattern again now that I have my lingerie sewing skills on, and likely measure myself more accurately at this point in my sewing game.
It's a FREE pattern if you join the George + Ginger Group - just look under the Files section.

Bella Sunshine Designs was brewing a baby for awhile, but now they are back - and their first pattern release was the Primrose Panties Pattern!
I blogged about them here.
After a few months, they are another pair of panties - more generic and less sexy - that I feel nekkid in all day long. No adjustments required all-day-long!
I made both the hipster and regular versions.
You can totally scrap bust these two by colour blocking the front or back panels.


I absolutely love the twist in this bra. This is another early sew for me, so the fit was a bit tight around the band and straps - I will definitely size up and try another round

These were VERY simple to make - with straightforward directions and multiple options for leg and waist bands.
This was my first attempt with fold over elastic, and I used an old t-shirt and thin hoodie for the fabrics.
I found my lack of proper stretch sewing with the fold over elastic made this a bit wonky on me, and I do have to adjust them down under for proper comfort.
But thongs are definitely a personal feel - the wrong fabric or fit, and they are just not happening.
So these are another pair I'll make again now that I have a vast amount of fabric and sewing skill knowledge vs 2 years ago.
Lighter stretchier fabric, and maybe even lace for a no-feel thong!
These were my second attempt, with some random Fabricland clearance stretchy rayon fabric and scrap two way stretch Cotton Lycra (Gnomes).
Honestly, the stretch in these fabrics together is perfect!
The fit is spot on and the instructions are very easy to follow - even for a beginner.
I now realize why I prefer bands over fold over elastic:
- it's easier to sew on
- More forgiving for stretch
- Doesn't accentuate any muffin top or leave marks on my skin after a long day.
- Doesn't dig into crevices
- Great scrap buster


Sorry for baring my behind, lumps, and bumps. But I'm a real woman. And no longer a size 0 (as I was 20 years ago).
As soon as I saw the recent sew-a-long for this set, I bit the bullet and found a few bits and bobs for lingerie sewing from Libelle Sewing, Trimmings & Supplies, and a store going out of business on Etsy.


My lovely soft double brushed polyester fabric is from Water Tower Textiles - and is SOOOOO soft - definitely the perfect fabric choice for this mid waisted Greta Thong.
I used stretch lace that I had already for the bindings on both the Lana bra and the Greta.
With this combo, the panties sewed up quickly and easily. And I barely notice they are there when on - bam! I finally perfected sizing and fabric types to use with panties!
I did sew up the higher waisted Greta, and although comfortable, I think the double brushed polyester is MUCH more comfortable in the nether regions than Cotton Lycra is. I also prefer where the mid height thong hits my hips - it's more flattering.

For the Lana bra, I did have to cut a good inch off either side of the back, and the front is wonky underneath the bust (it has a big bubble of fabric)....BUT apparently after the Lana's February release, they already had a MAJOR update to the pattern with dozens of sizing combos, and an entire blog indicating how to choose your proper sizing.
I have one cut up on my table waiting to be made, so I'll use my newly printed pattern pieces to see if I can reuse that fabric, or will just have a wonky bra before I have the perfect bra.
I can wear it all day and evening while relaxing, can work out in it (foam padding - from an old repurposed bra), and I don't adjust it all day long. Honestly, the most comfortable non-sports bra I have ever worn.
I will NEVER go store bought again!
8) Mary Ribbon Cinch Hipster Panties from Oooh Lulu Patterns AND Havana Bralette from Evie La Luve

I fell in love with both of these patterns when I saw them. I believe they both had a sale at the same time - and I was trying to expand my lingerie as per Husband's request.
He even offered to buy me more feminine undergarments....but for $40-$60 for something that I like and looks nice...I can make quite a few pieces for the price of one ill-fitting store bought version.
In comes the Havana and Cinch Hipsters!


The bralette doesn't have padding (I'm sure you could add it), but the seams lie in such a place that it isn't necessary. Nothing pokes out where it shouldn't.
I used a nice piece of lycra spandex for the top, along with lace and a LOT of lingerie straps from Libelle Sewing.
I just LOVE the way this bra feels while on - and I adore the multi straps - it's so different, sexy, and because the straps are adjustable - no squishing of skin because of tightness.
And oops - I was SO excited with the panties that I didn't realize the sizing was too small for my 44" hips. *sigh*
So, as it goes up to 42", I just guessed at the size increase on the pattern, and cut it out a size larger. And they fit like a nice glove now.
I LOVE the cinching and ribbon touches.
And Husband was quite excited with my not-store-bought attire.
BAM.

So sew up some new lingerie that ACTUALLY fits and makes you feel good no matter what, and tell me how you did, what your favourite part was, and if you flaunted your stuff to someone you love (your dog, cat, parrot, husband) - someone who appreciates and loves you.
***I sew for the passion, fun, and confidence it gives me. Affiliate links have been used, but I only promote what I believe in and adore ***


