Showing posts with label sew my wardrobe. Show all posts

Wednesday, 20 November 2019

Jeans are Always a Good Idea - The Rebecca Page Jo Jeans Sewing Pattern


When in doubt, wear Denim. 

And that's just what you'll want to do once you sew up your very own pair of Jo Jeans!  

There's one size for all 
- Joey Jeans - 12 months to 12 years old
- Jo Jeans XXS to 5XL Ladies
- Joe Jeans XXS to 4XL Mens

With pockets, shorts or pants options, and more, top stitch to look like a pro, and learn how to sew in a zipper!  There are even tips on how to get the perfect size for your shape.


I took 4" off the length (I'm 5'-2", and was able to finally sew in a zipper without ripping it out part way through.  With loads of pictures and instructions, patience and a bit of TLC meant I was finally able to sew up a zip-up pair of comfy jeans. 

They're a bit more relaxed than skinny jeans, but I don't really need a belt for them (unless accessorizing). 

I used a stretch jeans fabric from Fabricland (my normal place didn't have any available quick enough during pre-testing!), and even splurged on top stitch thread.  

What a different top stitching makes!  It definitely gives them a professional look. 


I can bend over and don't have plumber's behind, squat, sit, walk, and everything without feeling discomfort or wedgies happening - this is always a good thing. 

So if you want a bit of a challenge (in comparison with a basic knit top or joggers), definitely sew up the Jo, Joe, or Joey Jeans for yourself and your family!

You can even grab the bundle here.


***Affiliate Links Above used - I love these patterns, and without the help of those who love their patterns, marketing would be extremely difficult for the pattern makers we love and learn to love. Affiliate links help with the hours, fabric, and tears that go behind testing each pattern in order to provide a real-person view on the patterns for you (and me!) 

Thursday, 7 November 2019

The 5 out of 4 Weekender Tunic - Comfort Every Day of the Week!

Dear Weekender

I like you.

Love, Me.


I've had 5 out of 4's Weekender Tunic pattern in my to-make stash for eons, just waiting for the right fabric. 

When I met Libelle Sewing's Denim Cable Knit Fabric, the Weekender was ready. 

With a lovely light drape, but warm enough to keep me cozy in the house that manages to continually drop to 18 degrees Celsius (64 Fahrenheit).


The Weekender pattern has a plethora of options:
- Short or long sleeves
- Loose or skinny sleeves
- Thumb hole cuffs, hemmed, or rolled sleeves
- Hood, funnel neck, crew neck or scoop neck
- Placket with lace up detail option
- Regular, high-low, or banded hem

I opted for long loose sleeves, hemmed sleeves, hood, and regular hem. And it's perfect!  

I didn't shorten the length, and LOVE that it covers my behind - my hips and bum always get cold, so longer length is the perfect solution. 


Even Husband commented on how good this sweater looks on me and says I need to make more - so that says volumes!

Now I need to stock up on more cable knit and make myself every variation of the Weekender to keep me toasty and fashionable this long Canadian Winter. 

Grab your Weekender Pattern today!

**Affiliate Links Above used - I love these patterns, and without the help of those who love their patterns, marketing would be extremely difficult for the pattern makers we love and learn to love. Affiliate links help with the hours, fabric, and tears that go behind testing each pattern in order to provide a real-person view on the patterns for you (and me!) 

Tuesday, 24 September 2019

The Clover Dress - George + Ginger Sewing Pattern Review

When The George + Ginger Clover Dress pattern was released, it reminded me of my old worn out Modcloth Coach dresses.  

The vintage flare, neckline, buttons...I just lacked the fabric that screamed, "MAKE ME."

That is, until I met Libelle Sewing's Black Polka Dot Scuba fabric. 


I immediately cut out the pattern - like cutting through nice butter - and sewed up Clover within a few days of the fabric arriving. 

The fabric gives some structure without being TOO structured - it has a relaxing factor to it, and can become skirts, pants, dresses, and more. 


It does breath, pending the garment isn't too tight on your skin - so these sleeves will likely come off and I'll go sleeveless as the sleeves are tight (maybe a bicep adjustment would of helped) and just wear a cute cardigan over it instead. 

The sewing itself was easy to follow as usual for a G + G pattern, and I love the ease of construction and the fact that I lacked requiring a seam ripper. 

It took me maybe an hour to sew up Clover, and I'm so glad I did - the end result is divine.  


Perfect for visits with customers outside the office, or a fun gathering on the weekend. 

This fabric was meant for this dress. 

What do YOU think?


Friday, 16 August 2019

The Moto Hack - Rebecca Page's Cargo Slim Pants Sewing Pattern


So, I decided to sew up the Rebecca Page Cargo Slim Pants this winter and add a Moto hack to the front thigh, but wasn't in the best frame of mind at the time (miss you, Gideon :( ). So I fubarred the zipper part.

I was so frustrated and stepped away from the machine, changing into my favourite Pippa Pants. 

Then I had a moment, and decided to hack the beautiful pants I made from zipper front to Pippa Pants style!

Here's how I hacked the Cargo Slim Pants:


Take the cargo pants pattern, and place it underneath the Pippa Pants pattern (or one with a rise you really like - non-zippered pants pattern only!).


Draw on the Cargo Pants pattern where to cut away from the front curve and the front seam as pictured above. 

Note, that you will have to likely trim down these parts (in red) to get the perfect fit, so I recommend a basting stitch for the front portion when we get to that step, so it's easy to trim off a bit at a time. 


 Next step is starting the Moto pattern!

Using your modified Cargo Pants front pants pattern piece, cut a rectangle with the desired height, and as wide as the both of the largest widths of the pants front leg (thigh area) - so one thigh length x 2 + a bit extra just in case. 

I opted for a height from the top of my knee (fit the pattern piece on yourself, and determine where the top of the knee hits, and add 1/2"-1") to the bottom of where the side pocket hit. 

Then start drawing lines across the  about 1.5" from the top, and draw lines every 1/2"

I used chalk - you can use whatever pencil or marker you would normally mark with (make sure it can wash or wipe off easily!).


Start folding the fabric about 1.5" from the top of the widest part of the rectangle. Press the fold with your iron (I like using steam here), and sew with 1/4" seam allowance.


Repeat this step until you reach the last line.


Tape together several pieces of paper, and lay them across your already-cut front pants leg thigh area. 

I've noted where the grain line is, mid thigh line (as per pattern piece), and that this is the thigh panel for the Moto fabric. 

Trace the existing side legs, and draw your Moto angle line as pictured. 


Cut out the paper pattern piece, and place it on the already-cut front pants fabric. 


Trace the lines onto the pants fabric with washable chalk, marker, etc.


Then cut with a 5/8" seam allowance above the knee line, and below the thigh line. 


If you are walking away from your pants at this point, remember to pin your left legs together, and right legs together...otherwise you may sew the wrong one onto the wrong leg side later on!


Take the pattern piece for the Moto section, and cut out mirror imaged Moto pieces from your folded Moto fabric - one for the left leg, the other for the right leg.


Now match up the top thigh leg piece with the top angle of the Moto fabric. 


Pin together right sides together.


Sew together with a 5/8" seam allowance.  Press open and iron flat.


I topstitched to make it look pretty.


Repeat these steps to sew the bottom part of the leg onto the bottom of the Moto fabric. Press and Topstitch.

Sew together the side seams of both sets of legs so now your front and back leg pieces are together. 


I took the Pippa Waistband (regular height), and sewed it together in a loop, marking Quarters afterwards.  

I do recommend putting elastic in the waistband to keep your pants up like Urkle!


Put one leg inside out. 


Put the legs together, right sides facing each other. 

Pin along the crotch seam, and sew it up with a BASTING STITCH. Just like in the Pippa Pattern.


 Before putting on the waistband, try on the pants, and trim 1/4" or so at a time from the areas that are baggy.  There are plenty of tutorials online if you're unsure where to start with adjustments here. 

Once you are happy with the fit, do your final sew - whether it's a stretch stitch, or serging. 

Mark to top of your pants into Quarters, pin on the waistband, and sew on your waistband. I topstitched afterwards to make it pretty. 

Next, Hem your pants to the preferred length with a stretch or decorative stitch. 

And voila - awesome fitting cargo cut pants that make your caboose look amazing, and you don't have to worry about zippers!

So grab yourself some Slim Fit Cargo Pants and sew up your hacked pair (or not!) today.  Let me know how it goes!


***Affiliate Links Above used - I love these patterns, and without the help of those who love their patterns, marketing would be extremely difficult for the pattern makers we love and learn to love. Affiliate links help with the hours, fabric, and tears that go behind testing each pattern in order to provide a real-person view on the patterns for you (and me!) 

Thursday, 8 August 2019

Say Yes to New Adventures - the 5 out of 4 Adventure Skort Sewing Pattern Review

What if life is but one grand adventure? 

What if your wardrobe could be the same? 

The 5 out of 4 Adventure Skort is an adventure I didn't know I was missing out on!


The Adventure Skort is PERFECT for those of us who want to wear short shorts underneath skirts in the summer...it's all built into one garment. 

The options included are:
- Workout shorts (with 4 inseam lengths)
- Skort (shorts + skirt in one)
- Low, Regular, or Maternity rise band
- Short and long skirt lengths 


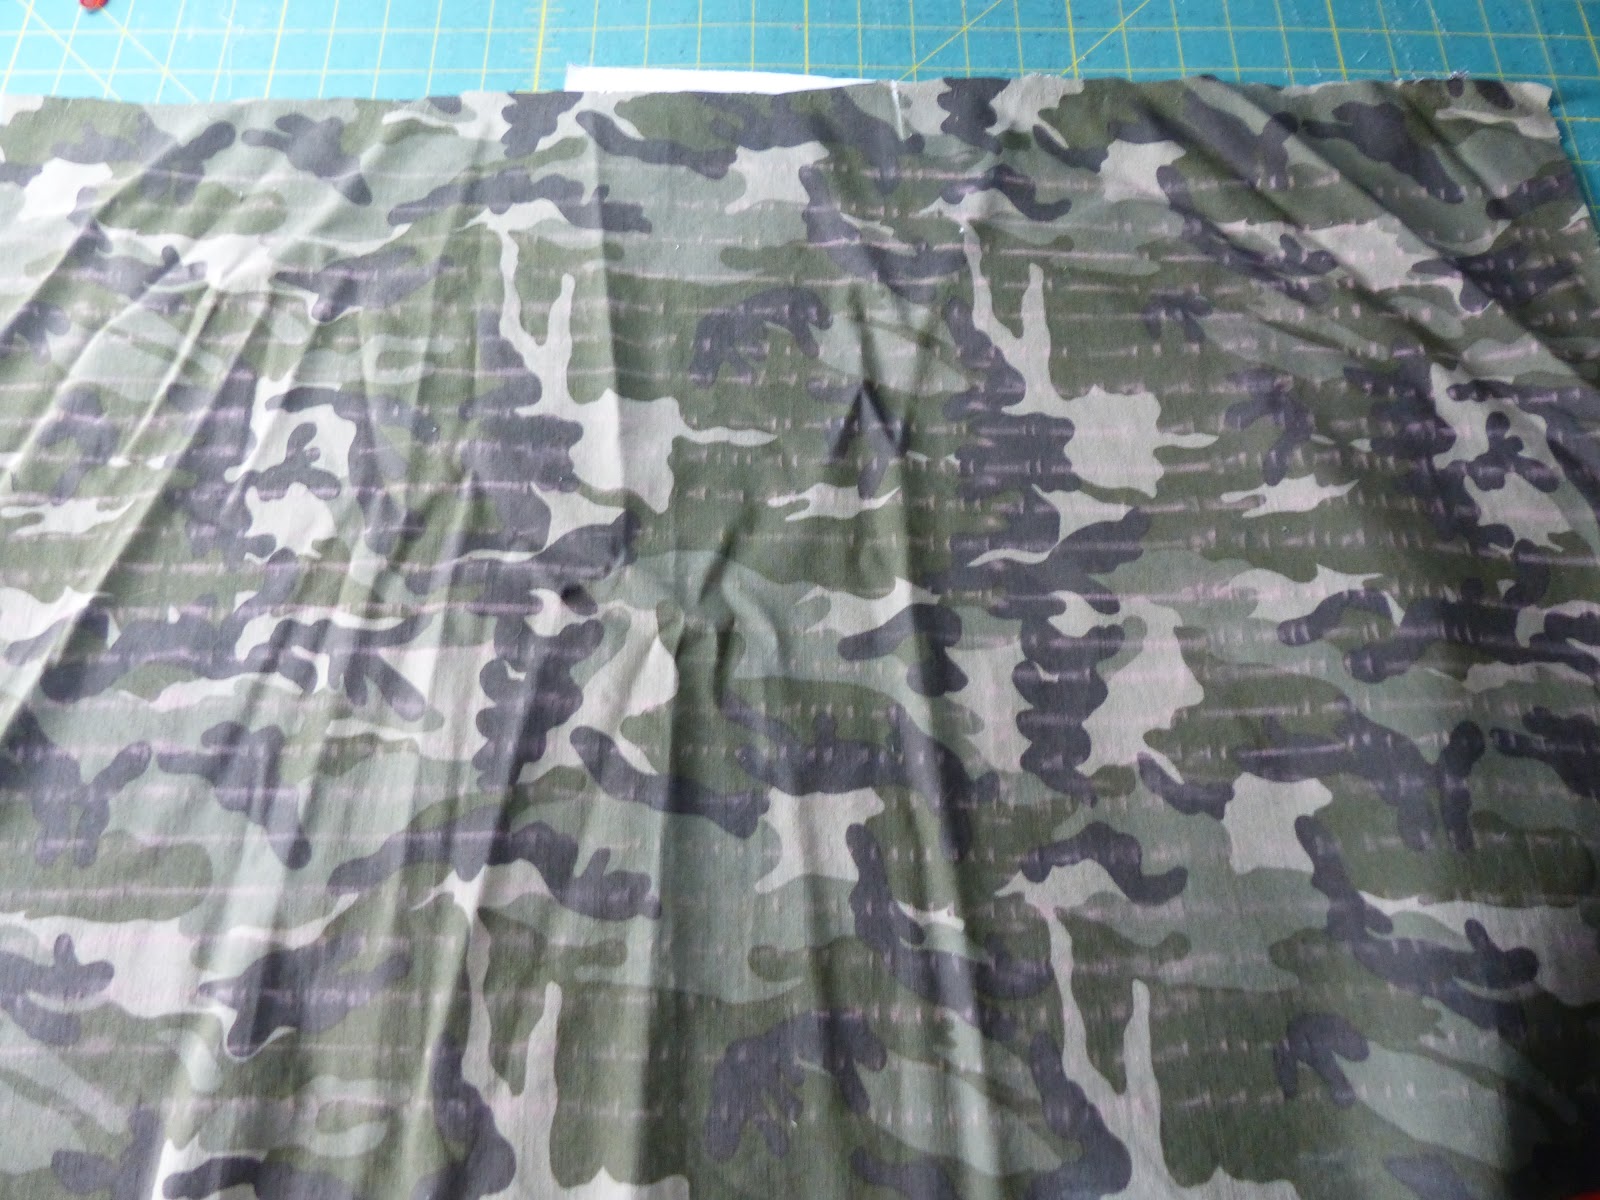
The skirt was perfect for some stretch denim camo print fabric from Water Tower Textiles, and the last of my Tardis Doctor Who Dri Fit fabric from...(brain fog moment) that online store that sells custom print fabrics (it cost an arm and leg and ear, but this is the 3rd item I've used that yardage in, so I feel I got my money's worth!). 

It sits nicely on my waist, and no muffin top!


I paired it with my X-Factor tank top - and it seems to work - sci fi geekiness alert!

I love the longer skirt length, and used the 3" inseam for the shorts, so no more thigh rubbing - especially in sweaty muggy weather, which seems to be this summer, and the reason I've avoided wearing skirts and dresses.  

To me, having shorts built in is a game changer. Yes I can wear shorts AND a skirt/dress...but that's so much work when getting dressed at 5:30am. 

With a nice DBP fabric, it can be the perfect office skirt, and the current combo the perfect outfit for working at our camp land. 


My behind looks good, and I didn't need to grad from the waist to hips. It isn't too tight, thus not causing pressure on my hips (I have super tight hips and low back issues). 

Sewing it up was a breeze, and I was honestly surprised when it was done. It was quick!  

The instructions were easy to understand, and no seam rippers were harmed in the making of this skort. 

I'll definitely make more when I get some extra sewing time in!  

Yay!  

Make everyday an adventure with the Adventure Skort sewing pattern today!

***Affiliate Links Above used - I love these patterns, and without the help of those who love their patterns, marketing would be extremely difficult for the pattern makers we love and learn to love. Affiliate links help with the hours, fabric, and tears that go behind testing each pattern in order to provide a real-person view on the patterns for you (and me!) 


The 

Wednesday, 15 May 2019

It's a Coat...It's a Cardigan...It's the Rebecca Page Carli Coatigan Sewing Pattern!


Everyone needs some comfort in their lives - why not spoil yourself with the Rebecca Page Carli Coatigan pattern?  

Make it as relaxed or fancy as you like.

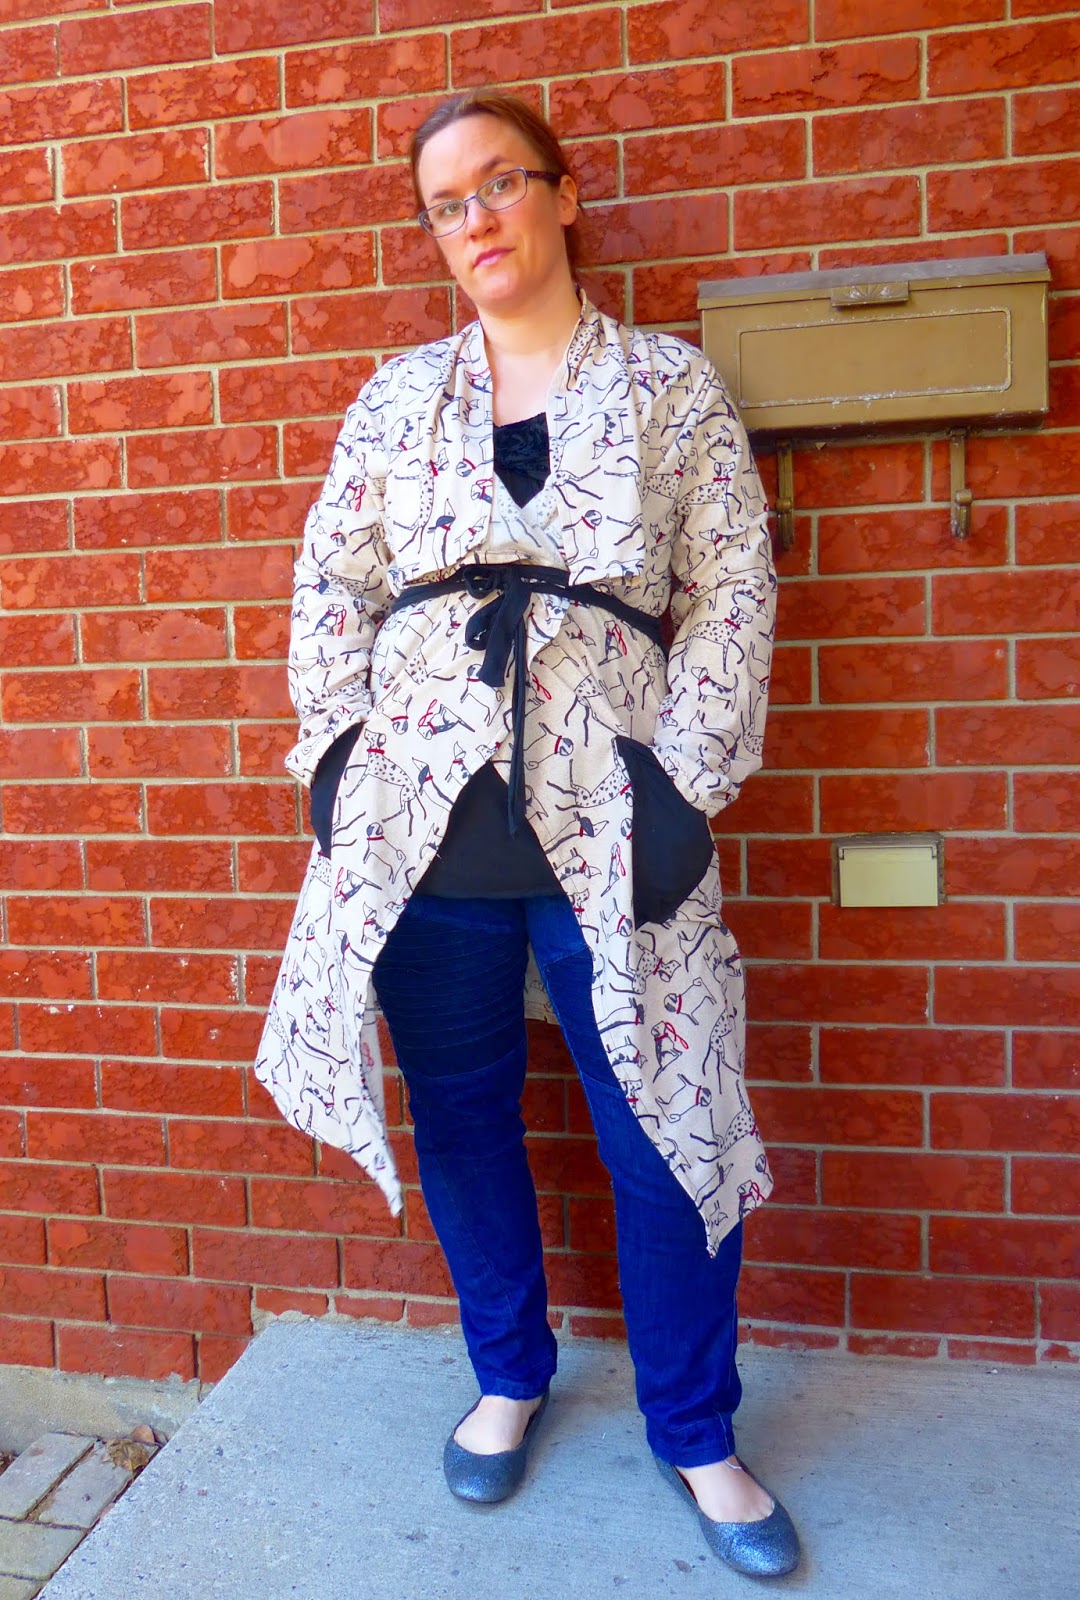
Short or Long length, pockets or no pockets (WHY WOULDN'T YOU HAVE POCKETS??), Belted or not belted - the choice is yours. 


I like how the back looks either with the belt done up or undone. 

The shoulders sit nicely, and there's even a back seam.  

It is easily sewn together with very few seams - so perfect for the beginner sewist. 

I used this random sort of two way stretch super light fabric (it feels like baby fleece, but has stretch) from Fabricville

It is also VERY lightweight, therefore works. 

A bulkier fabric won't flow very well, and the drape at the front won't look as nice.  

Some of the testers used Double Brushed Poly, others used lightweight sweater knit - both fabric types looking stellar with the Coatigan


I LOVE the pockets. 

The placement line is perfect - not too low or high. 

The lengthen/shorten line is essentially the bottom hem - I took 4" off mine, as I'm only 5'-2", and the pattern is drafted for someone who is 5'-6".


You can see the nice flow in these pictures - it's just old school glam. 

Try out a new easy pattern with the Coatigan, and tell me how it goes!

***Affiliate Links Above used - I love these patterns, and without the help of those who love their patterns, marketing would be extremely difficult for the pattern makers we love and learn to love. Affiliate links help with the hours, fabric, and tears that go behind testing each pattern in order to provide a real-person view on the patterns for you (and me!)