Showing posts with label Sewing Hack. Show all posts

Friday, 16 August 2019

The Moto Hack - Rebecca Page's Cargo Slim Pants Sewing Pattern


So, I decided to sew up the Rebecca Page Cargo Slim Pants this winter and add a Moto hack to the front thigh, but wasn't in the best frame of mind at the time (miss you, Gideon :( ). So I fubarred the zipper part.

I was so frustrated and stepped away from the machine, changing into my favourite Pippa Pants. 

Then I had a moment, and decided to hack the beautiful pants I made from zipper front to Pippa Pants style!

Here's how I hacked the Cargo Slim Pants:


Take the cargo pants pattern, and place it underneath the Pippa Pants pattern (or one with a rise you really like - non-zippered pants pattern only!).


Draw on the Cargo Pants pattern where to cut away from the front curve and the front seam as pictured above. 

Note, that you will have to likely trim down these parts (in red) to get the perfect fit, so I recommend a basting stitch for the front portion when we get to that step, so it's easy to trim off a bit at a time. 
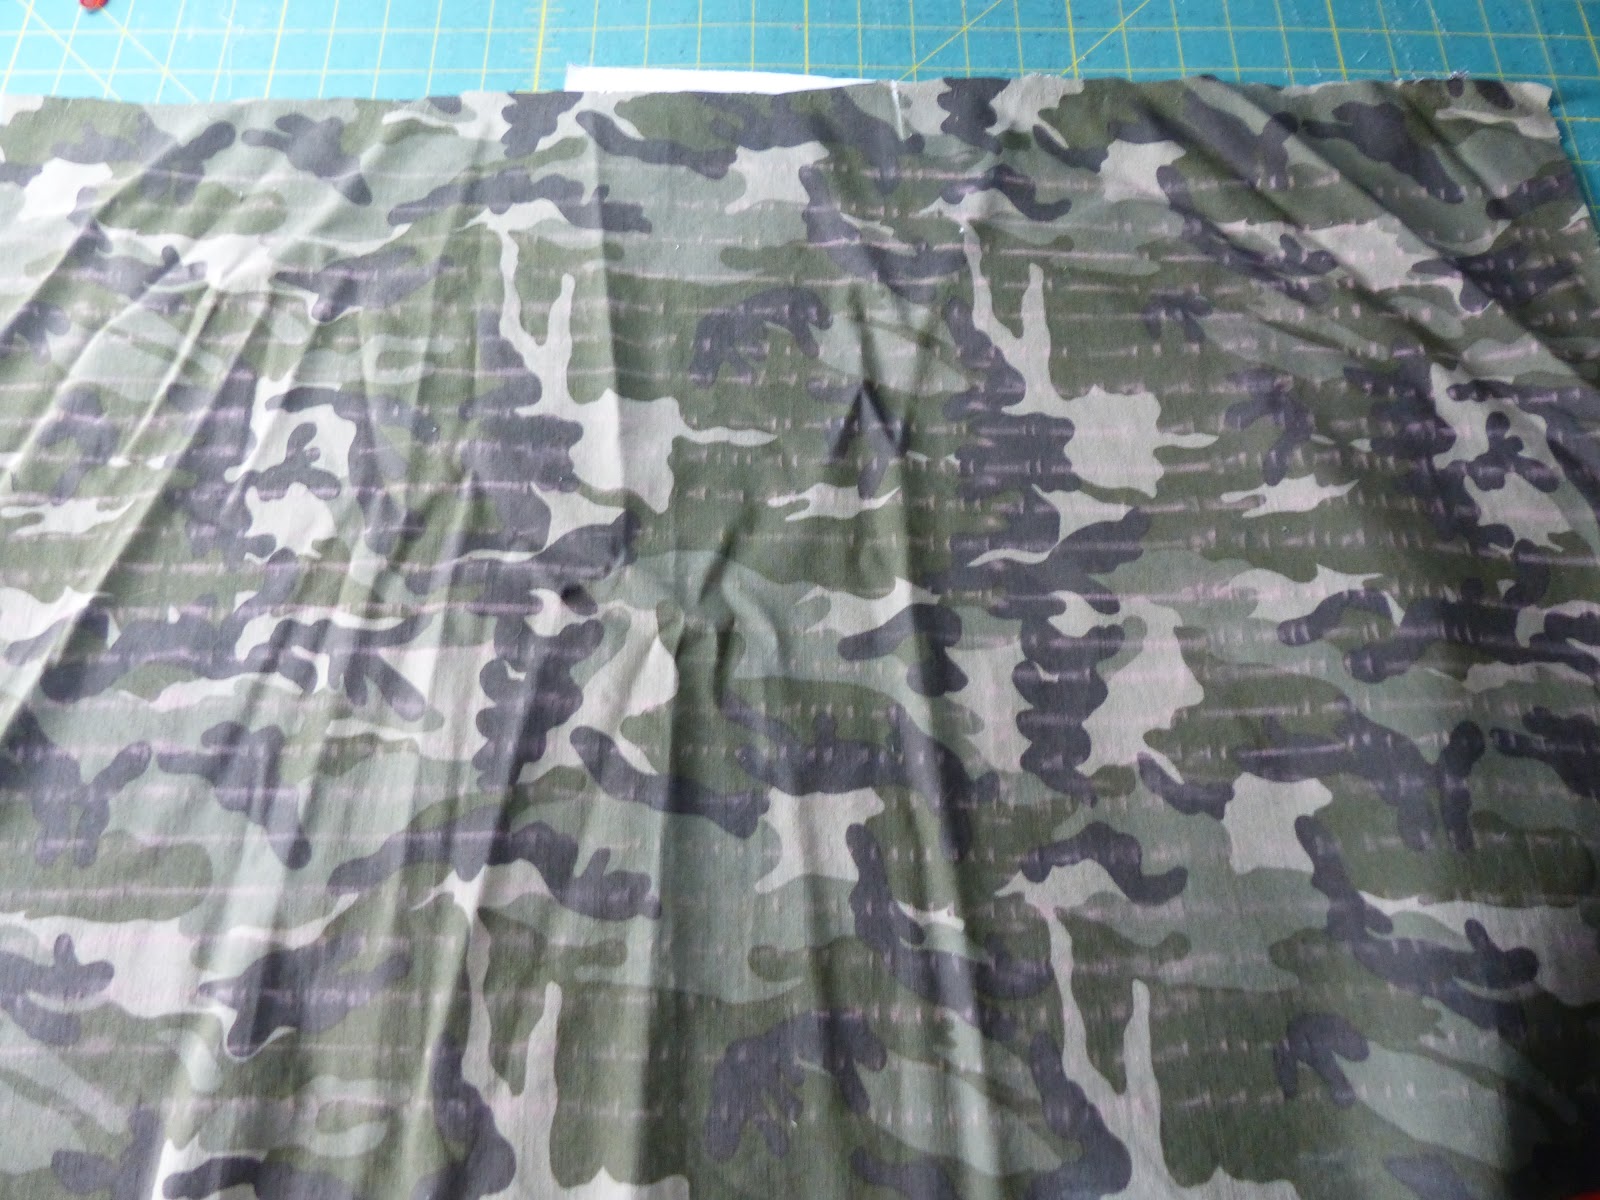

 Next step is starting the Moto pattern!

Using your modified Cargo Pants front pants pattern piece, cut a rectangle with the desired height, and as wide as the both of the largest widths of the pants front leg (thigh area) - so one thigh length x 2 + a bit extra just in case. 

I opted for a height from the top of my knee (fit the pattern piece on yourself, and determine where the top of the knee hits, and add 1/2"-1") to the bottom of where the side pocket hit. 

Then start drawing lines across the  about 1.5" from the top, and draw lines every 1/2"

I used chalk - you can use whatever pencil or marker you would normally mark with (make sure it can wash or wipe off easily!).


Start folding the fabric about 1.5" from the top of the widest part of the rectangle. Press the fold with your iron (I like using steam here), and sew with 1/4" seam allowance.


Repeat this step until you reach the last line.


Tape together several pieces of paper, and lay them across your already-cut front pants leg thigh area. 

I've noted where the grain line is, mid thigh line (as per pattern piece), and that this is the thigh panel for the Moto fabric. 

Trace the existing side legs, and draw your Moto angle line as pictured. 


Cut out the paper pattern piece, and place it on the already-cut front pants fabric. 


Trace the lines onto the pants fabric with washable chalk, marker, etc.


Then cut with a 5/8" seam allowance above the knee line, and below the thigh line. 


If you are walking away from your pants at this point, remember to pin your left legs together, and right legs together...otherwise you may sew the wrong one onto the wrong leg side later on!


Take the pattern piece for the Moto section, and cut out mirror imaged Moto pieces from your folded Moto fabric - one for the left leg, the other for the right leg.


Now match up the top thigh leg piece with the top angle of the Moto fabric. 


Pin together right sides together.


Sew together with a 5/8" seam allowance.  Press open and iron flat.


I topstitched to make it look pretty.


Repeat these steps to sew the bottom part of the leg onto the bottom of the Moto fabric. Press and Topstitch.

Sew together the side seams of both sets of legs so now your front and back leg pieces are together. 


I took the Pippa Waistband (regular height), and sewed it together in a loop, marking Quarters afterwards.  

I do recommend putting elastic in the waistband to keep your pants up like Urkle!


Put one leg inside out. 


Put the legs together, right sides facing each other. 

Pin along the crotch seam, and sew it up with a BASTING STITCH. Just like in the Pippa Pattern.


 Before putting on the waistband, try on the pants, and trim 1/4" or so at a time from the areas that are baggy.  There are plenty of tutorials online if you're unsure where to start with adjustments here. 

Once you are happy with the fit, do your final sew - whether it's a stretch stitch, or serging. 

Mark to top of your pants into Quarters, pin on the waistband, and sew on your waistband. I topstitched afterwards to make it pretty. 

Next, Hem your pants to the preferred length with a stretch or decorative stitch. 

And voila - awesome fitting cargo cut pants that make your caboose look amazing, and you don't have to worry about zippers!

So grab yourself some Slim Fit Cargo Pants and sew up your hacked pair (or not!) today.  Let me know how it goes!


***Affiliate Links Above used - I love these patterns, and without the help of those who love their patterns, marketing would be extremely difficult for the pattern makers we love and learn to love. Affiliate links help with the hours, fabric, and tears that go behind testing each pattern in order to provide a real-person view on the patterns for you (and me!) 

Tuesday, 28 August 2018

Sewing Pattern Hack: The Emma Top - Barbie Style!

I'm trying to learn how to properly downsize 18" doll patterns to fit Barbie, as there are so many cool patterns out there that I'd like the extra challenge. 


This is my second pattern I've downsized, and am happy with the fit so far.


The Rebecca Page Emma Top/Dress comes in 18" doll size, which I in turn customized the pattern by reducing it to 60% of its regular size. 

The pattern pieces are tiny, but easy enough to work with. 

And this top/dress is the perfect Barbie pattern, as it doesn't  have to be closely fitted (aka bust to waist) or require a doll version of a full bust adjustment! 


I used some scrap rayon/crepe type fabric from a dress that never quite fit me, but seemed perfect for a mini-Emma top! 


The sash definitely helps bring the Emma Top into the Barbie Zone, giving her a nice peplum top that happens to match with the skirt Barbie came in!


The back collar wasn't as difficult as I thought it was going to be to sew up - just remember to use your iron and a lot of steam to keep the seams flat and make topstitching easier.

The collar buttons up with a plain metal snap I sewed on by hand, and the keyhole opening at the back lays flat and looks just as good as it does on my own Emma top!

Overall, I feel between 60-50% shrinkage on the 18" doll clothing patterns might just work for Barbie - but I'll keep testing to determine the most flattering 18" to Barbie patterns over time.

Sew On!


Wednesday, 11 April 2018

Pattern Hack: Mamma Can Do It - Men's Fit Pants

Occasionally, I must sew for someone else, and that preferred person is Husband. 

He is EXTREMELY picky with clothing, and like me, not a cookie cutter straight fit, so after a few failed attempts last year, I finally found a few patterns that worked with him (with the sizing guidance of the pattern designers and groups).

I had the opportunity recently to test the new Men's Fit Pants and Shorts pattern for Mamma Can Do It, and Husband was happy I was sewing yet again for him. 

I lacked Husband's presence during the muslin version (aka he was snoring in bed), so didn't have the right elastic measurement other than his waist size, which isn't where the pants sit on him - they sit on his lower abdomen, so I safety pinned him in for fit pictures while my head wasn't Migraine Spinning too badly. 

I ended up taking a pair of sleep shorts I made him for Christmas, added a few more inches as they were a BIT snug (things happen when you make clothes in secret for a surprise - don't use tight Jeans as a size guideline - ha ha), and got the perfect elastic fit for the final pair of shorts.  

Pockets and look at that Elastic - fits perfectly without being tight! 


I did place the fake fly on the Version 1 of the test pattern, and although it was widened slightly for the final version, he still felt the reprint was too thin, so I left it off his final shorts. 

I have sewn fake flies in 3-4 other patterns previously, and honestly found these instructions the easiest to follow - especially with my current brain fog and slow brain state - so you'll be pleased at the ease of adding the fly if you opt for that selection.  

Similar to Zippers, sewing flies - fake or real - is not an easy sewing instruction to explain, and I've had to watch videos in the past to get it.  These instructions differ from others, and I got it first time without hesitation. 

I didn't have to lengthen the shorts or alter beyond the straight sizing I made (size 46 as per measurements guideline included in the pattern instructions).  And he's 6'-2", so this gives you an idea of where the normal shorts sit.  And he has had to have shorts lengthened 2-3" with other patterns to hit his knees as they do with this pattern, so it was nice to not have to alter anything on the pattern. 


Front
Back - Look at those seams!  I'm getting good!


Then on day 5 (6?) of non-stop migraine head pounding, I was saddened to find out that the custom fabric I'd been coveting for almost a year for him wasn't quite enough to cut the entire shorts out of. 

I wasn't leaving the house to hope that I could find any decent fabric at the closest knit fabric store a 30-40 minutes drive from home in traffic on the weekend (or weekday in the full Migraine zone). 

So I did what I do for myself normally. I found a nice basic complimentary cotton lycra fabric,  and colour blocked. 


Front is one fabric type...


From the side, you can see the grey fabric - vertical - and the nice flat pockets! 

But what makes this pattern awkward to colour block (but gives the shorts/pants their flattering shape), is the curve in the actual pattern piece. 

So I measured across the back piece - 12.25" at the leg - and marked the pattern centre from top to bottom, and literally cut the pattern piece in half vertically.

I cut two mirror imaged pieces from the custom fabric, and the other half from the normal cotton lycra (light grey in my case) - ensuring there was a 3/8" seam allowance extra on either side to allow me to sew them together in the centre. 

So with my stretch stitch, I placed one full set of the back panels right sides together (one custom and one grey piece) - ensuring they matched the full pattern piece before sewing (because seam ripping a stretch stitch isn't fun!). 

I pressed the seam flat, pinned each side of the seam with dressmakers pins, flipped over the full back piece, and top stitched on either side of the seam, creating not only a flat seam, but giving the seam a professional look. 

From that point onwards, I was able to sew up Husband's new shorts with side and front pocket options and a Regular fit.

He likes his behind in it, and gave a little wiggle - asking Husband's to pose for pattern test photos either entails silliness or grumpiness on his end.


He just started wiggling...so I couldn't resist - is THIS what Husbands think we do during pattern photo shoots??


He is EXTREMELY picky with shorts/pants, and blames what his mother gave him for slight bulkiness in the front area, but this is a normal complaint he has - we're still keeping together shorts that should of gone away a long time ago, but he can't find replacements he likes.  

So I'll attempt these again in perhaps a medium thickness stretch cargo pants style fabric (if that exists!), with the fake fly widened, in the Wide leg style to see if that gives him the room he wants. He will also prefer the wider leg option that the Wide Leg style offers, as he is a baggy clothes style guy. 

So overall, Husband has worn his shorts 3 days in a row (I'm sneaking them into the wash today!), and loves them as lounging shorts.

The other testers have great "serious" pants and shorts and everyone did a great job making their Husbands and mates a bit happier - sewing for all of those people we love! 

And the other husbands are just as silly as mine - maybe it goes with the sewing wife territory?  One man also did a wiggle, another posed like he was a super model, then there was tractor farm guy (I NEED that fabric for Husband's next pair!), and my friend An - oh An.  

An's the European version of me. One day I *will* go to Europe, visit Husband's family in England, go back to the Black Forest region of Germany (and see that famous castle I was kyboshed on in lieu of the Mercedes Benz Museum - which was cool....but I didn't see any "real to me" castles), and spend a week with my friend An, her puppy, and her Husband who seems just as silly as mine. He did a twirl video - I'm so proud of him!  

We have to keep a tally of how many people we get to twirl in tests now - it's our way of spreading sparkle and joy in the sewing world even when we're not 100% our best. 

Or An can come to Canada and we'll float down the Riviere Noire in Unicorns at our camp - a 10km river float that lasts 4 hours until you get beached at the area we park our ATV.


I really do float down the river in a Unicorn!  


Our men can do camp stuff, twirl, and wiggle in their Mamma Can Do It's Men Fit Pants while we're busy floating. 

Sew on and don't be afraid to use this hack for other patterns - it's a great use of fabric, and after the first few times you do it, it's just second nature and looks really quite amazing!  Take your time, and make your man some bottoms!