


So, I decided to sew up the Rebecca Page Cargo Slim Pants this winter and add a Moto hack to the front thigh, but wasn't in the best frame of mind at the time (miss you, Gideon :( ). So I fubarred the zipper part.
I was so frustrated and stepped away from the machine, changing into my favourite Pippa Pants.
Then I had a moment, and decided to hack the beautiful pants I made from zipper front to Pippa Pants style!
Here's how I hacked the Cargo Slim Pants:


Take the cargo pants pattern, and place it underneath the Pippa Pants pattern (or one with a rise you really like - non-zippered pants pattern only!).

Draw on the Cargo Pants pattern where to cut away from the front curve and the front seam as pictured above.
Note, that you will have to likely trim down these parts (in red) to get the perfect fit, so I recommend a basting stitch for the front portion when we get to that step, so it's easy to trim off a bit at a time.
Next step is starting the Moto pattern!
Using your modified Cargo Pants front pants pattern piece, cut a rectangle with the desired height, and as wide as the both of the largest widths of the pants front leg (thigh area) - so one thigh length x 2 + a bit extra just in case.
I opted for a height from the top of my knee (fit the pattern piece on yourself, and determine where the top of the knee hits, and add 1/2"-1") to the bottom of where the side pocket hit.
Then start drawing lines across the about 1.5" from the top, and draw lines every 1/2"
I used chalk - you can use whatever pencil or marker you would normally mark with (make sure it can wash or wipe off easily!).

Start folding the fabric about 1.5" from the top of the widest part of the rectangle. Press the fold with your iron (I like using steam here), and sew with 1/4" seam allowance.

Repeat this step until you reach the last line.

Tape together several pieces of paper, and lay them across your already-cut front pants leg thigh area.
I've noted where the grain line is, mid thigh line (as per pattern piece), and that this is the thigh panel for the Moto fabric.
Trace the existing side legs, and draw your Moto angle line as pictured.

Cut out the paper pattern piece, and place it on the already-cut front pants fabric.

Trace the lines onto the pants fabric with washable chalk, marker, etc.

Then cut with a 5/8" seam allowance above the knee line, and below the thigh line.

If you are walking away from your pants at this point, remember to pin your left legs together, and right legs together...otherwise you may sew the wrong one onto the wrong leg side later on!

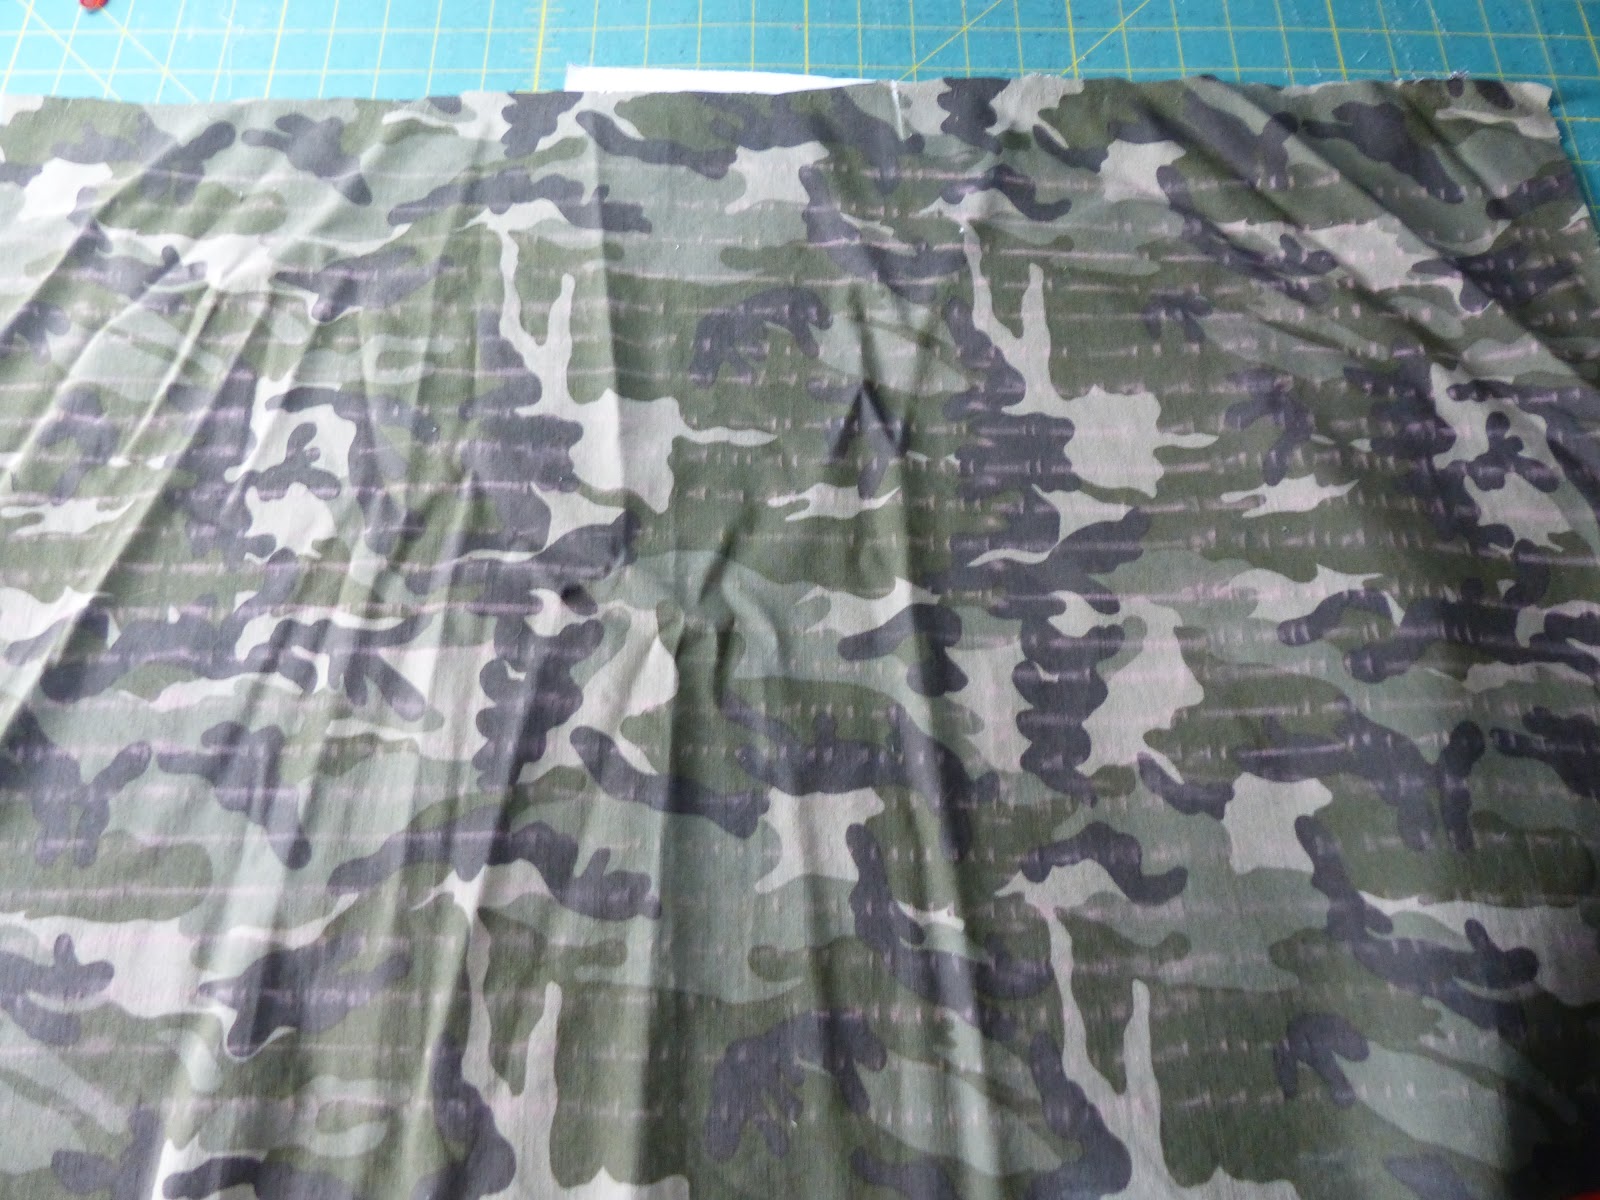
Take the pattern piece for the Moto section, and cut out mirror imaged Moto pieces from your folded Moto fabric - one for the left leg, the other for the right leg.

Now match up the top thigh leg piece with the top angle of the Moto fabric.

Pin together right sides together.

Sew together with a 5/8" seam allowance. Press open and iron flat.

I topstitched to make it look pretty.

Repeat these steps to sew the bottom part of the leg onto the bottom of the Moto fabric. Press and Topstitch.
Sew together the side seams of both sets of legs so now your front and back leg pieces are together.

I took the Pippa Waistband (regular height), and sewed it together in a loop, marking Quarters afterwards.
I do recommend putting elastic in the waistband to keep your pants up like Urkle!

Put one leg inside out.

Put the legs together, right sides facing each other.
Pin along the crotch seam, and sew it up with a BASTING STITCH. Just like in the Pippa Pattern.

Once you are happy with the fit, do your final sew - whether it's a stretch stitch, or serging.
Mark to top of your pants into Quarters, pin on the waistband, and sew on your waistband. I topstitched afterwards to make it pretty.
Next, Hem your pants to the preferred length with a stretch or decorative stitch.
And voila - awesome fitting cargo cut pants that make your caboose look amazing, and you don't have to worry about zippers!
So grab yourself some Slim Fit Cargo Pants and sew up your hacked pair (or not!) today. Let me know how it goes!


***Affiliate Links Above used - I love these patterns, and without the help of those who love their patterns, marketing would be extremely difficult for the pattern makers we love and learn to love. Affiliate links help with the hours, fabric, and tears that go behind testing each pattern in order to provide a real-person view on the patterns for you (and me!)
No comments:
Post a Comment