Showing posts with label tank top. Show all posts

Monday, 24 June 2019

Be Yourself - 5 out of 4's Taylor Racerback Tank Top, Tunic, and Dress Sewing Pattern Review

Just be yourself.  

There is no one better. 

What better way to express yourself thank sewing your own clothing?  

The 5 out of 4 Taylor Racerback Tank Top, Tunic, and Dress Sewing Pattern definitely helps me sew up some flattering tops in a jiffy, so I can feel free to be me!

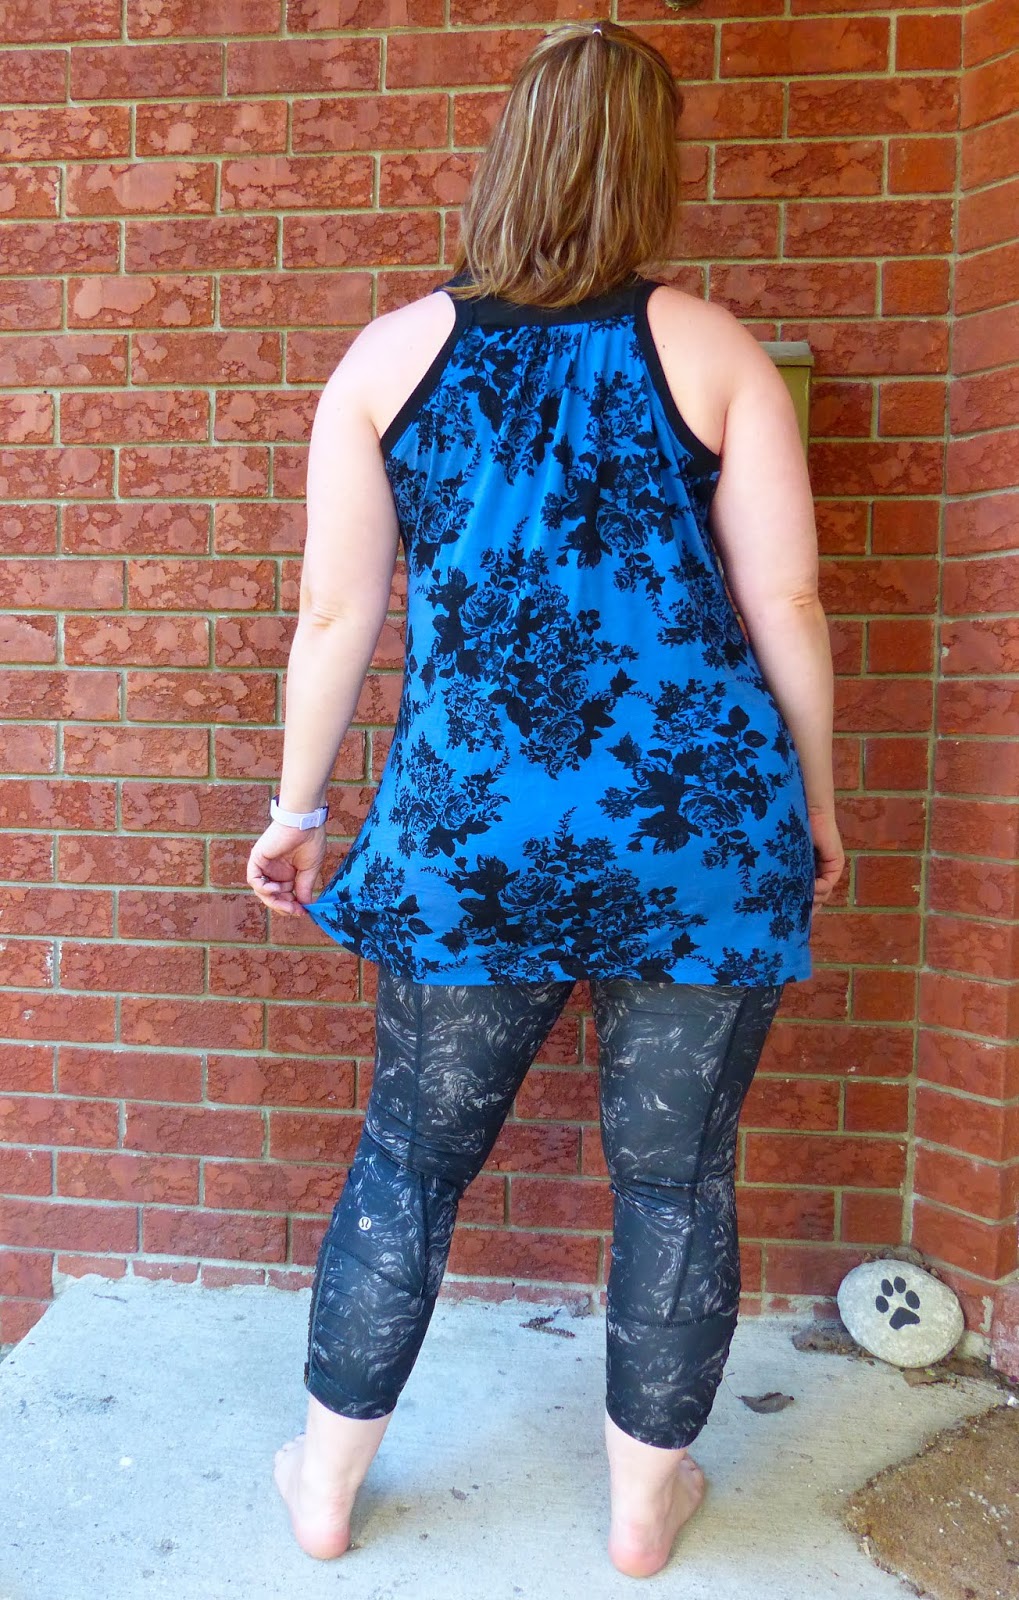
 

This top comes with a few options:
- One piece back
- Gathered back option
- Top, Tunic, or Dress Lengths

I LOVE the look of the gathered back, and will definitely be adding more to my summer wardrobe!


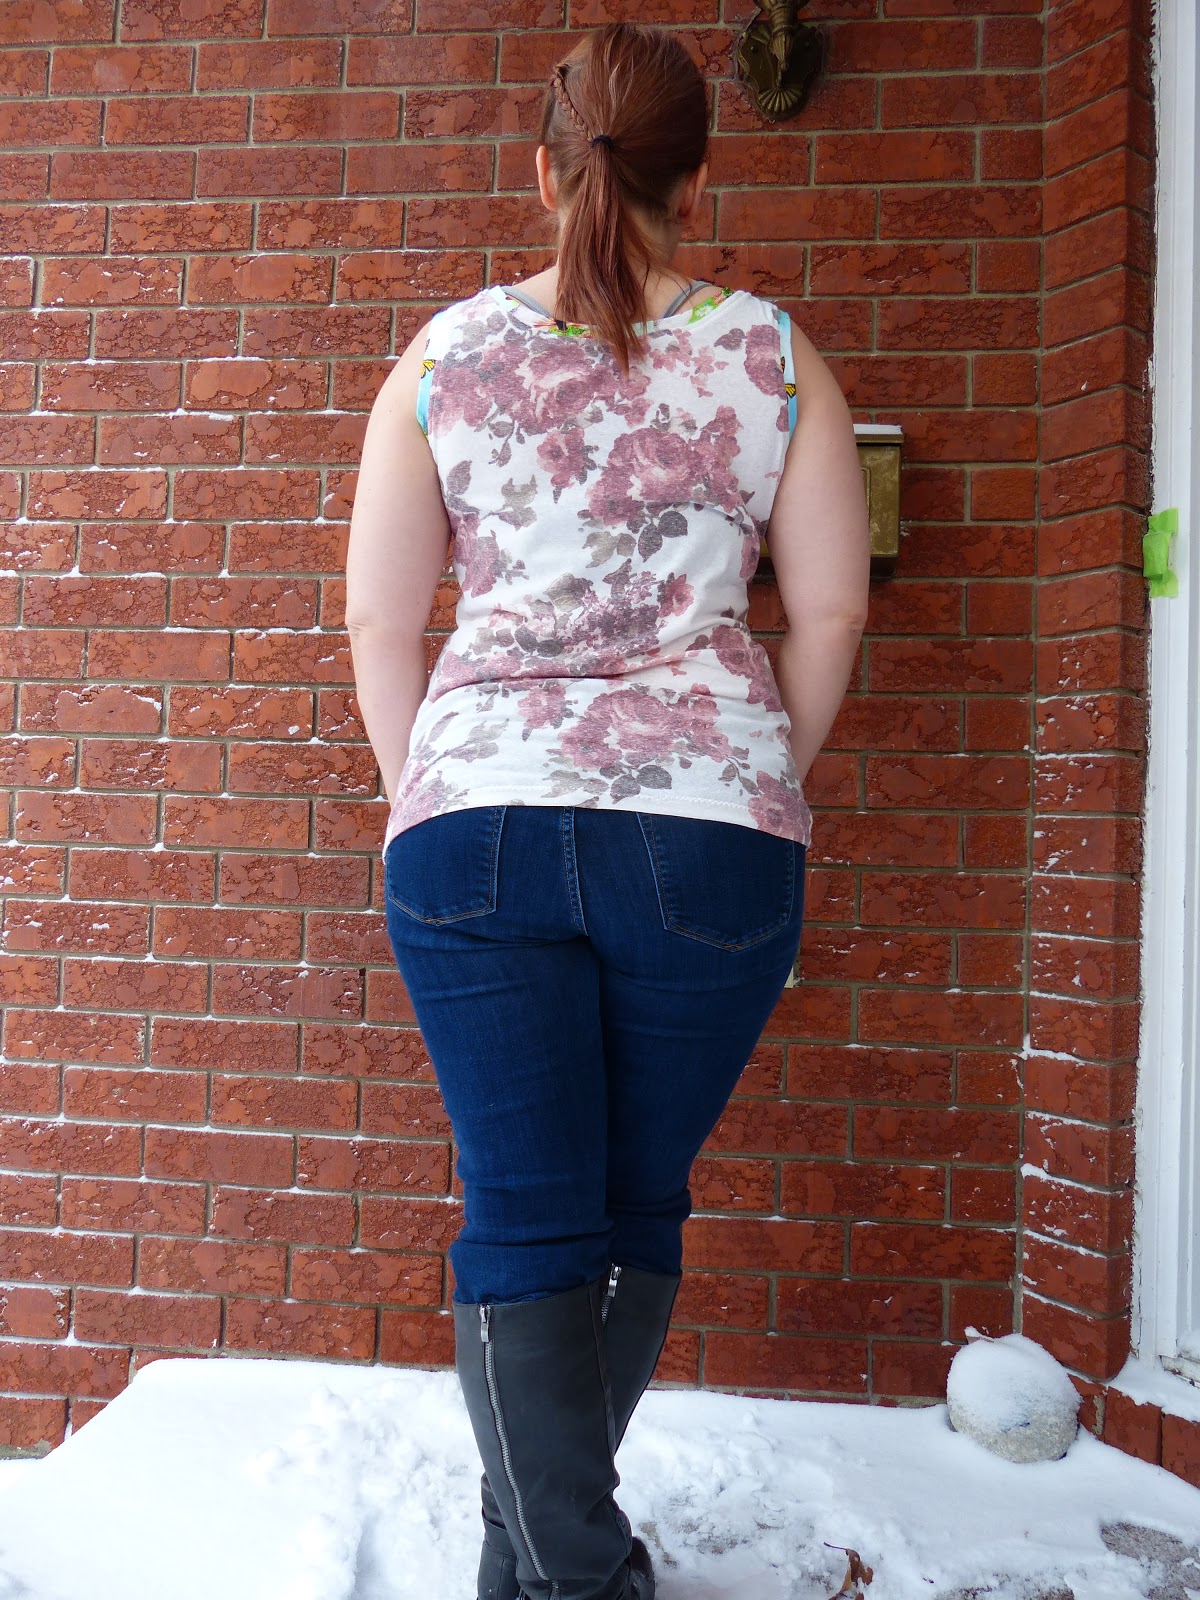
I graded as normal, from Small to Large with 5 out of 4 Patterns, and the fit is perfect. 

I am always concerned about racerbacks, as they tend to pull on my neck and shoulders, causing more than my normal daily pain. 

With this racerback, I can wear it all day long and honestly not know I'm wearing it. The armcycle is comfortable and doesn't dig in, and the tunic length is perfect for pairing with leggings. 


The flowier the fabric, the happier you will be with this top - a denser or stiffer fabric definitely won't have the same flow and would look quite boxy.  So avoid liverpools, medium density Cotton Lycra, and similar feeling fabrics. 

Sewing wise,  the instructions are easy to follow, and perfect for beginners. 

I've worn both my workout bra and regular fancy bras underneath, and they haven't shown outside of the racerback straps, so you shouldn't have to wear a special bra to prevent it from showing underneath the top. 


I'd definitely add this to your wardrobe and sew it up immediately - you won't regret the Taylor Racerback!

***Affiliate Links Above used - I love these patterns, and without the help of those who love their patterns, marketing would be extremely difficult for the pattern makers we love and learn to love. Affiliate links help with the hours, fabric, and tears that go behind testing each pattern in order to provide a real-person view on the patterns for you (and me!) 


Tuesday, 15 January 2019

Sewing Pattern Review: 5 out of 4's Jenny Cross Front Tunic

Don't be fooled by the patterns that I got

I'm still, I'm still Jenny from the sewing block. 

Ok. I'm really bad at writing lyrics - especially remaking existing lyrics (aka Jenny from the Block). 

Don't hold that against me. 


My name's not Jenny, but I really do have the hottest pattern around! 

I recently sewed up the Jenny Cross Front Tunic by 5 out of 4 patterns, and it's love. 

Jenny's features include:
- Dolman sleeves (without batwing action)
- FBA pattern pieces included
- Short or long sleeves
- Curved or straight back hem
- Modesty tank with two hemlines (that is a GREAT layering or solo tank too!)
- Sizes XXS to 5XL


 My long sleeved version has a straight hem - and it looks fab paired with my office-professional styled Zen Pants 


 The cross at the front is flattering - and easy to fit to perfection by following the detailed instructions - baste your side seams, try on the top, and adjust as required for the most flattering fit for your body. 

There is an option to baste the front where the bust is, but apparently I like to let it all out. 


 I blended together a Sweater Knit and Double Brushed Poly Fabrics from Water Tower Textiles - and despite the fabric weight difference, as they are both looser fabrics, they meshed quite well.  


 The side is just awesome and flattering! 

Although I am 5'-2", I did not alter the height - the only alteration I did was make the front piece straight Small and the back graded to Large - I seem to have to do this with the last few 5 out of 4 patterns thanks to my atrophied caboose. 

Here's hoping my Vestibular Therapist can help me enough that I can get back into Cycling and get my behind into gear and proper shape!  Until then, my Beachbody on Demand and Yin yoga (with the Yoga Ranger) will help me with my strength and balance. 

 My second top was the short sleeved version.

I took these pictures while it was -25 Celsius outside (-13 Fahrenheit) 


 I did the curved hem on this version - you can see it covers my entire caboose.


 I just love how this sits.  Again, I only adjusted at the side seams as I did with the previous long sleeved top. I like tops to sit at or below my low hips. 


 The fabrics used were also from Water Tower Textiles - a really light sweater knit (that I've made a gazillion garments from as it's been on super sale for months), and a lightweight 2-way stretch cotton knit of sorts. 


 The sweater knit does poof up a bit at the back due to the new wonder tape I used for hemming (it is that plasticy kind - not the normal wash away tape I use). Apparently Amazon's descriptions of things has changed on their sewing bits & bobs lately. 


Finally - I made the tanks - I did make two, but my tangerine one from DBP (with fleece back!) was in the wash. 

 This top is pretty amazing. And super quick to sew up. 

No adjustments were made - I used my normal grading for both the front and back- Small bust to Large Hips. 

This top stays down, and doesn't ride up throughout the day..and I tested it out working out last night, and it was perfect!

 The armcycle is comfortable (even for my "larger" for my bust size biceps), and my boobage doesn't seep out.  

I used a DBP from Water Tower Textiles as the fabric - how cute are these Cacti?

This is the low neck line - so you can see, it's not super low, and would be perfect for those with larger bobs!


Overall, I'm quite happy with the design and fit of this new tunic and tank. 

Both are included with the Jenny pattern too!  


***Affiliate Links Above used - I love these patterns, and without the help of those who love their patterns, marketing would be extremely difficult for the pattern makers we love and learn to love. Affiliate links help with the hours, fabric, and tears that go behind testing each pattern in order to provide a real-person view on the patterns for you (and me!) 

Monday, 14 January 2019

Sewing Pattern Review: Winter Wear Design's Crossover Series Starting Point Tank

The Starting Point Tank is part of Winter Wear Designs' newest collection.

To date, it includes the Starting Point Tank and Crossroads Sweater - both year round wears.

The Starting Point Tank is a fitted tank top with several features:
- Bands or Bindings for the neck and armhole finishings
- Scoop Neck or Deep Scoop Neck options
- Petite and Regular Length Cut Lines

It is a "slim fitting" tank - but has enough ease that it's not showing every lump and bump.


 As you can see from the front view, it makes me look like a fashion star (or just silly - it was -20 Celsius outside during this photo shoot!) You wouldn't tell that I have a few little bumps and lumps. .


 The pattern is designed for an hour glass shape - which is perfect for me! 

During testing, it looked great on all the ladies once their sizing was perfected.

I graded from an 8 bust to 12 waist/hips.  It lays just at my hips and doesn't ride up - even while working out.


 Construction is easy to follow and you can make it in half the time as a load of wash takes.  Who needs clean clothes when they have a sewing machine??


The recommended fabrics are lightweight knits with 30% stretch or more - if you use a medium or heavy weight stretch, your top will look boxy and cling oddly. 

I opted for a slub Jersey fabric from Water Tower Textiles and Cotton Lycra scraps for the bands. The jersey is a 2-way stretch lightweight fabric - kind of like lightweight t-shirt fabric.  It feels soft and comfortable, and is a great fit for this tank pattern. 

 I decided to layer the tank with the new Crossroads Sweater - it's a different take on a cross-over top, and includes:

- Short or Long Sleeves
- Bottom Band or No Band
- Short or Long Length


I grade from Small to Large on this top, and definitely recommend basting the sides before using your knit stitch in order to ensure the cross over fits your body properly.  I did a bit of tweaking for the right fit!  

I used a Melange Sweater Knit from Water Tower Textiles (and the same Jersey Slub fabric as the tank) for a nice complimentary look. 

....and I still have the tendency to order 1 metre of fabric so I can have a variety, hence most of my clothing ends up with multiple types/colours of fabrics instead of a solid colour/pattern.

Again - a nice light to medium sweater knit is perfect for this pattern - and with the sleeve options, can be worn year round!

Overall, I'm happy with these patterns to help me layer year round - I'm always cold, and tanks and tops with some sort of collar help keep me warm. 

Being easy sews also helps make these great patterns to try your sewing skills on!

Grab Both Patterns in a super savings Bundle!

***Affiliate Links Above used - I love these patterns, and without the help of those who love their patterns, marketing would be extremely difficult for the pattern makers we love and learn to love. Affiliate links help with the hours, fabric, and tears that go behind testing each pattern in order to provide a real-person view on the patterns for you (and me!) 

Monday, 25 June 2018

Sewing Pattern Review: Rebecca Page's Monte Carlo Top (or Dress!)

I'd been coveting my Activewear Spoonflower custom Rhodesian Ridgeback fabric since last year.

The intent was a cycling jersey.  The reality of Vestibular Migraines = no cycling in my near future due to balance issues.

So when I saw the Rebecca Page Monte Carlo Tunic to Maxi Dress Pattern, it was calling for my Ridgeback Fabric.

I'm not generally a dress person, but the tunic length seemed perfect for me.


Some of the highlights of the Monte Carlo include:
- Knit or Woven Fabrics can be used
- Tunic, Knee, or Maxi length
- Shirred or elastic casing back
- Wide or narrow straps
- French Seams (which I'm learning to love)
- Ruffles (option)
- Sizes XXS to 5XL

I opted to sew up the tunic length with wide straps.


I think it turned out great - and it's not my last Monte Carlo!

The length is perfect for me - hitting just below my hip (which is how I like it).  I am 5'-2" just so you get the idea of length.  The pattern is drafted for a 5'-6" high frame, but rarely do I take length off a top due to personal preferences of covering my booty.

The front is definitely boobalicious, so I sewed a couple of tacking stitches to keep the Girls in place.  A bigger bust would definitely keep things in place more naturally as an FYI.

I opted for straight straps, as cross overs aren't nice for my neck and shoulder issues - it's comfy and the straps stay put without having to put them back in place (yay!). I could raise them up an inch at the back to prevent my bra from showing, but most of my bras are lower in the back than the particular Lulu bra I was wearing for pictures.

I'm the proudest of a new technique I learned - shirring.

When I think of shirring (once I googled what it was), I thought of those fancy tops I wore as a kid on photo day. So 1980's retro and early 2000's dance/rave scene club tube tops (sorry, Dad!).

I'm ok with this.

The shirring instructions were on par and easy to understand with step-by-step pictures and verbiage which held my hand the whole way through. (thanks, Rebecca!)

And guess what? It turned out perfect and even looks a bit professional! 


So overall, I'm happy with the look and feel of the Monte Carlo - and due to using Dri-Fit type fabric, I can actually work out in this fancy top, look (safely) boobalicious, and sweat without looking like it.

It does come in a few other options:

Tuesday, 12 June 2018

Easy Removable Bra Cup Sewing Tutorial

While making the Rosanna Tankini, I really wanted to have removable Bra Cups. 

Why?

They're expensive to buy.

Even to make them, the foam is expensive.

And Why not?

It's really simple when making a bra or pattern with a built in bra. 

First off, cut an extra front bra piece, minus the entire straps.  I like cutting up until there's a 2" gap to fit the bra up in from where the strap normally would be. 

I used "swim," or "athletic," lining to create this layer. 


Next, baste the sides together as shown below, including the arm curve, and follow up by basting the neck curve.

Make sure to leave an opening between either side of the straps (essentially the part of the strap that is cut off) and the bottom, as pictured.


 You're ALMOST done!

I like to sew a middle seam line so the cups stay where they ought to. 

Once your top or bra are complete, just slip the bra inserts in through the holes you left at the straps, and they're just as easy to take out. 


If you really want to get fancy, you can do some ruching and place an elastic in the middle while stretching it (not the fabric) and sewing the line - but it depends on the look you are going for. 

Ruching Ties are relatively simple, but only really practical if it encompasses all layers of the fabric (not just a built in bra where the exterior top is meant to be flat. 
Center ruching

Center ruching


Flat Front (aka no ruching, but built in bra) 

Alternatively, you can sew your cups into the lining or Bra fabric by trying your bra on, pinning the cups inside (without stabbing yourself with pins), and use the zig zag stitch to sew around the circumference of the cups. I only do this with cheapo cups, otherwise it's the "sharing is caring" method of removable cups. 

Sewn in Cups

Happy sewing!