Showing posts with label pinterest. Show all posts

Monday, 27 August 2018

How to Bring Magic to the World - One Small Fairy Crown at a Time

We hosted a 16th Birthday Party for a lovely girl we met at our cabin land this summer.

She has never had a birthday party (hello, mid summer birthday army brat kid with Aspergers).


We found she had a love for Comic Books, Whimsy, Unicorns, and Marvel Movies, so with the blessing of Husband, I had full creative reign on creating a party in the forest in under a week.


Really....he expected the T-Rex to leave her jewels at home??


WHY did he trust me with Pinterest? I get lost in the vortex and my mind explodes with ideas.


I knew the Fairy Crown and Wand from Rebecca Page Patterns would be the perfect fit...once I decided to add a few Comic Book style doo dads from the Advent Calendar Add On!


I made some crowns and even a lengthy "trim" for my craft room window with the flower patterns in the past.


This is me trying it out...but with a star, Bam, and Rocket...it is pretty cool!


She LOVED it!
 
Unfortunately I don't have pics in the dark of Maya, her wand, and Crown, but there were some tears of joy. She didn't take that crown off all night long while jamming away to Rock Back in the Woods with a community of people who think she's pretty stellar!


Rock Band in the Forest!


Rock on with Maya and give someone a little glimmer of joy in their lives.


You can make the Fairy Crown, Elf Crown, or Wand for someone special here.


And the Advent Calendar Add on is awesome for daily crafts too!


Sew On!


Thursday, 7 June 2018

Almost Done - Mom's Craft Room Surprise Renovation! March 2018 Progress

So we're nearing the end of Mom's craft room decor surprise... sort of. 

I was meticulous throughout the whole process, so sorting through anything took For-EVER!

She had a LOT less Scrapbook paper than I thought she would (thank goodness), so sorting through the colours was easy. 


 Sorting through all of the letters and themes for scrapbooking that Mom had accumulated over the years from magazine clippings...took pretty much from January to near the end of March (Mom and Dad return from Florida at the end of March!)

The scrapbook papers ended up below the work desk, and the magazine clippings in the pink boxes to the left - again, organized by theme and alphabet in separate ziplock bags that Mom was already using. 

Each theme had a tag I made with a picture and font reflecting the theme - like Hawaii or Ocean as pictured below. There were a good 100 or so of these!


For the scrapbooking words, I organized them by theme - hand made about 100 separate mini 6" x 4" folders to hold each word theme, and printed out separate labels for each folder - each word a different font and picture, depending on the theme. 
Each word theme fit into photo boxes mom already had. And the file folders I cut up to make the mini folders were hand cut to fit. 
 

I decorated the main wall board with star fish mom had collected over the years in Florida - glued on with super hot glue and a few burnt finger tips along the way!

 I hung the shelf unit that had originally been sitting on the work table onto the wall near the sewing table - I had to improvise a bit, as my Dad's workshop wasn't as handy or stocked as I thought it would be - but I made it work - and it's still holding the weight!  

Stupid fabric flowers. I hate thee!


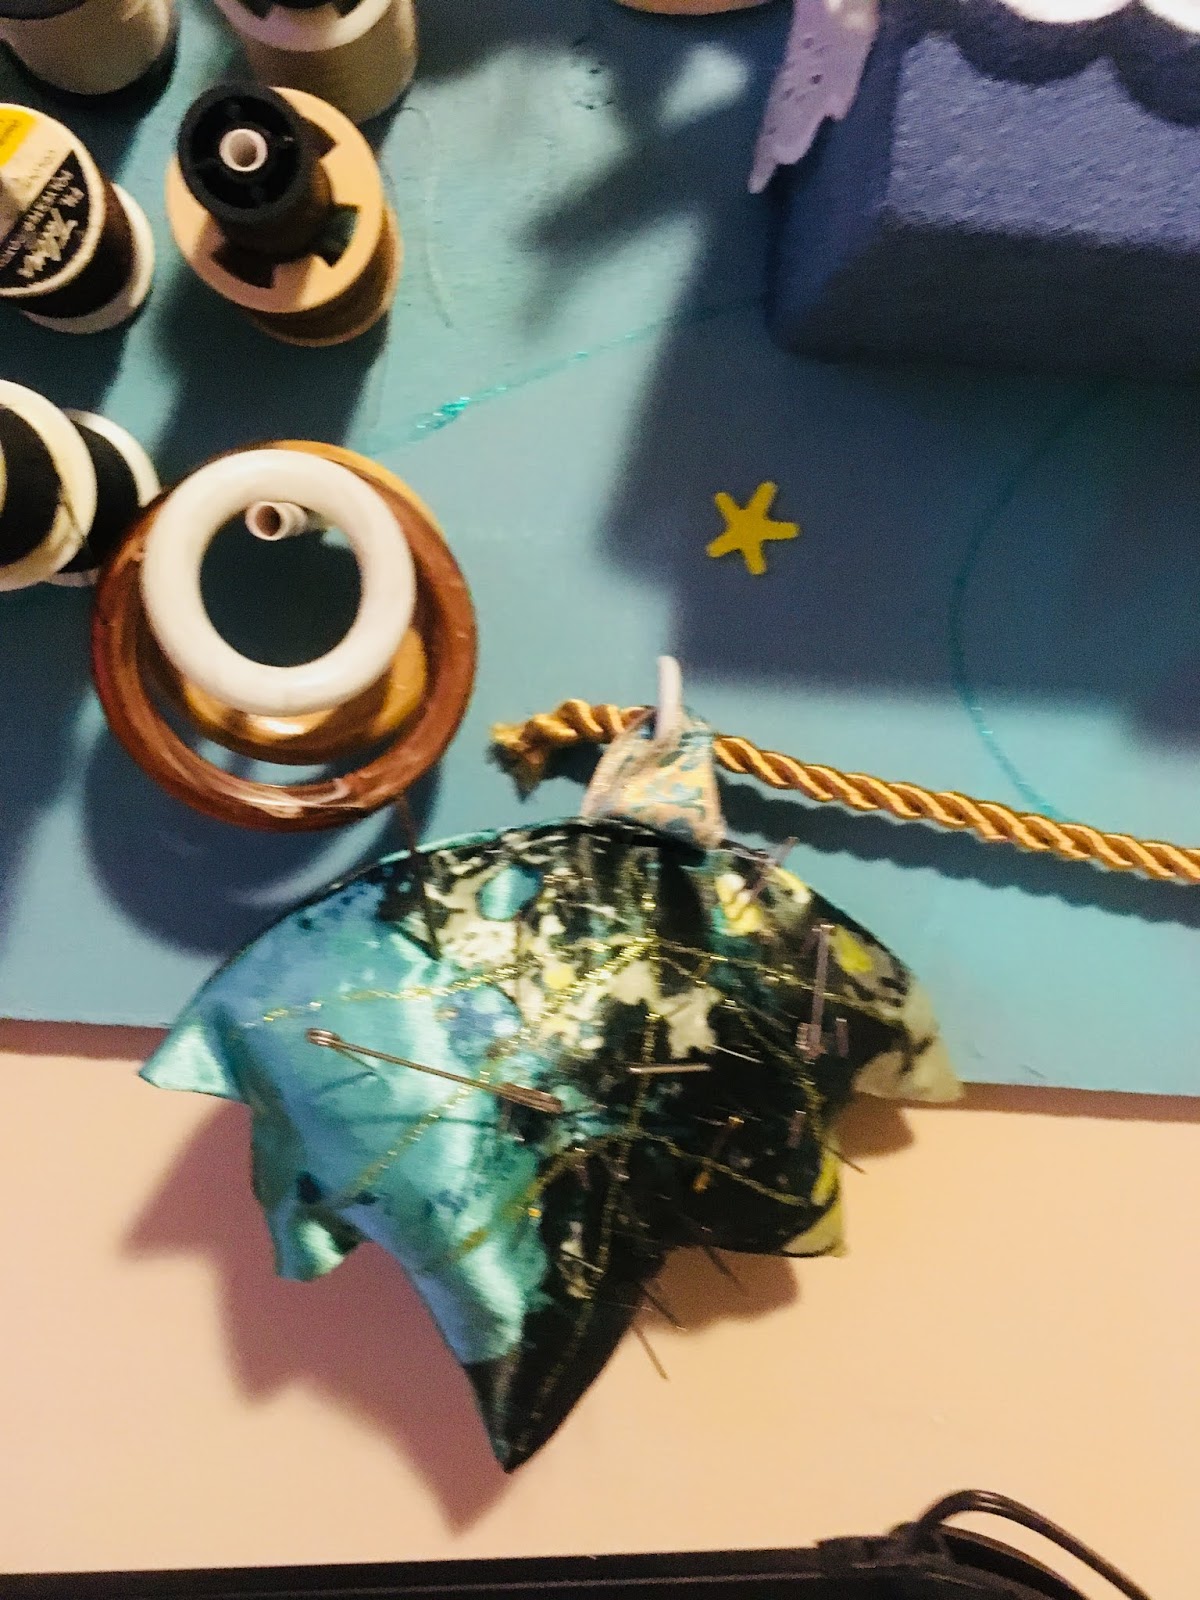
More board items: like a stuffed leaf I made from the Rebecca Page Bunting Flag pattern - it's now a pin cushion!


 On the table, I separated and labelled all the doo dads - like beads, charms, and other decorative bits. 

The label font is the same, but I changed up the colours. 


Hand painted Pinterest inspired pictures - I bought the canvases at Michaels with a 50% coupon, so they were about $10 for the larger ones.  

The smaller frames (near the closet) were from the Dollarama - 5 for $1.50. Woo!


And more Buntings from the Rebecca Page Pattern - one for each side of the craft room. Originally this sign was to say, "The Beach Is My Happy Place," however, the wall wasn't big enough, so I removed the "Is" 


And I used more of the caskets mom had to decorate the walls. Shells applied with glue gun to showcase my favourites!


And I made  a Notebook at Shutterfly as Mom seems to love to write everything down in notes. I put some cute pictures of us on our adventures as a reminder to her that I love her and care. 

Shutterfly is great, as they always have free products - I just pay a small shipping fee. 


Mom loved the room and was so surprised - I didn't tell her I was surprising her, and now it's organized and I no longer twitch when I go over. 

Tuesday, 29 May 2018

Mom's Sewing Room Renovation Day 2 (February 4/18)

Mom loves the ocean - she spends 4 months of the year now in Flagler Beach, Florida, just wandering the beach across from the Condo her and Dad rent every year.

So I wanted to bring Mom the spirit of the ocean to her crafting Zen zone.

First off I made her hand painted signs - each sign was Pinterest inspired, as were all the other ideas I mashed together to bring together the end result.


Aren't they cute??

I started bringing stuff out of the cupboards...and part of the closet. 

There was just SO much stuff.


All organized in ways...but in 10 different spots.

I brought out as much stuff as I could and just sat in the room sorting, putting aside things that could be recycled (containers) and obviously unusable "gems" (SORRY, MOM!).

On the sewing seat are flowers. I found those fake flowers EVERYWHERE. It took about 5 trips before I found them all...and then I found more!

I started organizing them by colour into prettier tins, which was relentless in the end, due to the above (finding more damn flowers every trip!).


The closet - I couldn't even reach it by the end of the day.

She had so many containers partially full or empty...just there. Not pretty ones, and just an inefficient use of space.

I started rolling the ribbon onto a) clothespins for the smaller ribbon pieces, and b) onto 2" foam squares I'd cut about 100 of - that wasn't going to be enough in the end. 

I actually ended up bringing the ribbons and laces home with me to roll up while watching tv comfortably on the couch - sitting on the ground was painful.


I took 4 BIG BLUE Ikea bags (those reusable ones) home with me over two trips to roll most of the ribbons onto separate boards and clothespins.


I also made mom a board - another Pinterest idea.

Peg board is REALLY expensive, whereas the plywood we had at home was at home and ready to use!

Before heading to Mom's, I drilled 84 1/4" holes, cut several paper straws I had from my Crystal's Bird Toys making day in half, jabbed them through the holes, and put a dab of glue at the back to hold them in - the perfect thread holders!  Much prettier than the stand they were on (well, one of 4 spots), and they were right at her eye level for easy sewing.


I used Dollar store hooks to attach the rope to (mom had lots of fancy pillow rope, so on it went to accentuate the Ocean feel), and to hang things from.


I reused a few of the baskets she had to hold more doo-dads.

I covered a nice paper box she had and hammered it right underneath the piece of corkboard I found at the Dollarama.

On the cork board, I glued some of those damn flowers around the border, along with some pretty small seashells Mom collects each year at the beach.

Why hide them?


And the pincushion. That thing's older than I am.


So it went away, and a cute new pincushion was created along with using one of the Bunting Add Ons from Rebecca Page Patterns for some hanging needle holders - one holder for a different type of needle to keep it organized.

Thank you, OCD!

Until next time - more on the evolution of Mom's Craft Room!
So the board cost me maybe $6?


Saturday, 28 November 2015

Jazz Age Jeopardy - My Murder Mystery Birthday Party!


Proof that Facebook advertising does work.

It was about a month before my birthday, and Husband asked what I wanted to do with my friends.  We've played pool, bowled, pubs, bars, nicer dinners, etc.

I saw an ad for Murder Mystery Dinners - and checked out the cost of going to a local venue - with the cost of diner, show, and drinks, it would cost each person WAY more than I would expect them to shell out.

So I posted an event to determine how many people would be interested in attending a murder mystery, and started researching DIY murder mysteries.

The free ones looked meh and had a lot of gaps into what I was supposed to do and how the party was supposed to run.

I found one that a woman would write in extra parts for a Doctor Who Mystery party, but the quote was a bit out of my comfort level.  And as much as *I* love Doctor Who, not all our friends know what the show is about, and it would be difficult for them to act out their parts. (this would STILL be SO cool).

I hummed and hawed between two better sites, and the pricing was sort of comparable, but Playing With Murder won out as not only did I find a discount code, but it included the number of players I had (19) with no upgrade cost.

I am SO happy I chose Playing With Murder - Jazz Age Jeopardy, as the 120 pages of paperwork involved with instructions, scavenger hunt clues, certificates, and character development was well laid out, and I was able to set the scene.


I think with DIY Murder Mysteries, you get out of it what you put into it.  Pinterest was awesome assistance with ideas for setting the stage, and I did a pretty kick arse decorating job.  I love creating, had most of the materials to create decorations, and it really did set the mood for the night.

Flapped Sequined Headbands I made
I made a Check In sign for the club, and you can see the handmade bottle labels behind me
If I hadn't had decorations and no one had dressed up as their characters, it would of been sub par and awkward.

I set up two photobooths - one upstairs, where guests who entered the Club had their picture taken with an intake sign;  the other was in the front entrance area.  I set up hand-made props, hats, and other accessories from our Halloween boxes. I found a frame for free, so people could "frame" themselves in the photos - as this looks really cool on Pinterest.  it works well in real life too :) 


Husband was doubtful that anyone would use it, but our guests did - they had a lot of fun with it and used the props, giggled, and asked people to take their pictures.  As usual, he said he doesn't know why he ever doubted my craziness and ideas.

Check In - I made everyone hold this when they put their coats away - as proof they were suspects!
Husband and me - we got goofy


The upper level was the Poker room where there had been some bloody mess from the past along with weaponry. 


Bullet holes were throughout this level and the remainder of the house - it was a Prohibition Age mobster-ridden Jazz Club in the 1920's afterall!


Pictures from the 1920's were also throughout the house - the basement level having old movie pictures - and was also the scene of the murder.


When Gared found out he was being murdered, he was SO stoked!  I loved his reaction :)  I think he was laying on the ground about 10 minutes before I got everyone together for Act II though.  Poor guy!


The main level was the main part of the club, with pom-pom banners creating a buzz and where the food and drinks were being served.


At first it was a bit awkward, as two guests arrived before 6pm, and the rest not until 6:10 and thereafter.  I was a bit nervous that people would bail out.

BUT, I created hype on the Facebook Page by posting the work being done to create the club, 1920's words, and talking about the food.  People put a LOT of effort into their costumes.  Every Single Person was dressed to the 9's and got into character. 

This made this party a great success!

I had no idea what my name was, but we found out that my name was "Narrator" - and I spoke like the main character on Schitz's Creek. And was told to use my indoor voice a few times - ha ha! 

A few people were confused about some of the clues (but 19 people = lots of talking + missing clues), but half guessed the right killer.

I think I chose the right parts for the right guests - it was pretty bang on! 

Friends having fun!


I would do a Murder Mystery every year if I could - but we want it to stay nice and fresh, so probably every 3-4 years unless there is demand for a higher frequency.

I should be a party planner - that would be SO much fun, as I'm SO into these kinds of things!

Pinterest and its ability to allow me to find & organize my thoughts and ideas is a fabulous tool in my life.  Unless I get lost in the Vortex.  Then that's just hours of my life gone away into outer Pinterest Space.  I really DO utilize the ideas I find on it though, so there is reasoning to my insanity.

Maybe we'll do Pirates next. I'd love to talk like a Pirate all night long!  Or in outer Space....or Zombies. SO many ideas!

If you're at all creative and have fun friends, I highly encourage you to check out the murder mysteries on Playing With Murder.  It's so simple, and worth the cost and effort put into creating an awesome party!