Every year I tend to do a bit of a reorganization of my craft room.
This year, my fabric was REALLY bugging me. I had it all stuffed randomly in a dresser, and had no idea what I had.
And so began 2 weeks of not only reorganizing how I sort my fabric, but also tweaking my other crafty doo-dads along the way.
This was my computer desk/craft drawer area before. Not TOO disorganized, but it could use some tweaking.

I labeled the drawers so I know what is where, using low grade chalk marker labels, Washi tape, and my Sharpies. A Glue gun finished it off by holding the not-so-sticky labels onto the drawer fronts.

I have large plastic separated containers within each drawer (all from Ikea), and sorted my sewing and craft items by type.
For the ribbons, elastics, lace, and bindings, I wrapped them onto binding boards (I have a LOT from a family donation, and they have come in handy for organizing ribbons, etc.) by rainbow colour. They are sorted by type into the separate compartments for easy access.


Onto my closet - which mainly holds crafting (non-sewing) items.
I find these hanging organizers (again, from Ikea) are great not only for clothes, but for organizing craft supplies!
Before on the left, and after on the right.
Everything is labeled, placed into the compartment or collapsible Ikea drawer boxes, folded, and organized by craft type.
Paint and scrapbook stickers (organized by type in 3 photo boxes - alphabetically, of course) are on the closet floor. I have a lot of craft stuff.


I had fabric in 2 bins, a dresser, in the closet, and behind the big comfy chair.


So I piled up fabric bit by bit...and here's what I did!

I purchased 200 comic book boards from Amazon, and started folding.
Place the board centered a few inches away from one edge of the fabric piece.
Then fold the top and bottom edges to cover the top and bottom of the board.


Then fold over the small side - either square or like a letter - the letter fold just makes the edges look prettier.
The next step is easier if you pin the corners of the inner fabric (the envelope part) to the top and bottom edge so it stays still while you start to fold.
Keep the top and bottom of the fabric folded to the same length as the fabric, flip the board, tighten the fabric around the board, and continue flipping until you get near the end.
Fold the edge of the end of the fabric (length) as pictured in the second picture, and you will do your final flip.


Pin the top and bottom, and your folded fabric is done!

For different sizes of fabric, I either used the entire Comic Book board, cut the board in half once, or cut the half board into half - for 3 different board sizes.

Look how nice and neat my fabric is now! SO easy to see what I have and fun fabric no longer gets lost in the shuffle.
It took me about 3 evenings to fold all my fabric.


Look how nice and organized my drawers are now!
I organized them by size of board (small and medium), colour, and type. For example, the top drawer started with pink small boards - stretch then woven fabric. Then red small boards - stretch then woven fabric. And so on.


I used my Billy Bookcase, which mainly had my colour organized scraps on it, for the full sized fabric boards - organized by type and colour.
I reduced my scrap boxes to one per colour by a) throwing away scraps that wouldn't even make a band, b) scraps I didn't love, and c) wrapped up larger scraps on the comic boards.
So scrap boxes are now truly for binding sized scraps.
Look how organized it is!


I have some blankets, felt, and comforters (and my upcoming Taylor Trench fabric!) that were also folded onto comic book boards and placed in their own nook due to their bulkiness.

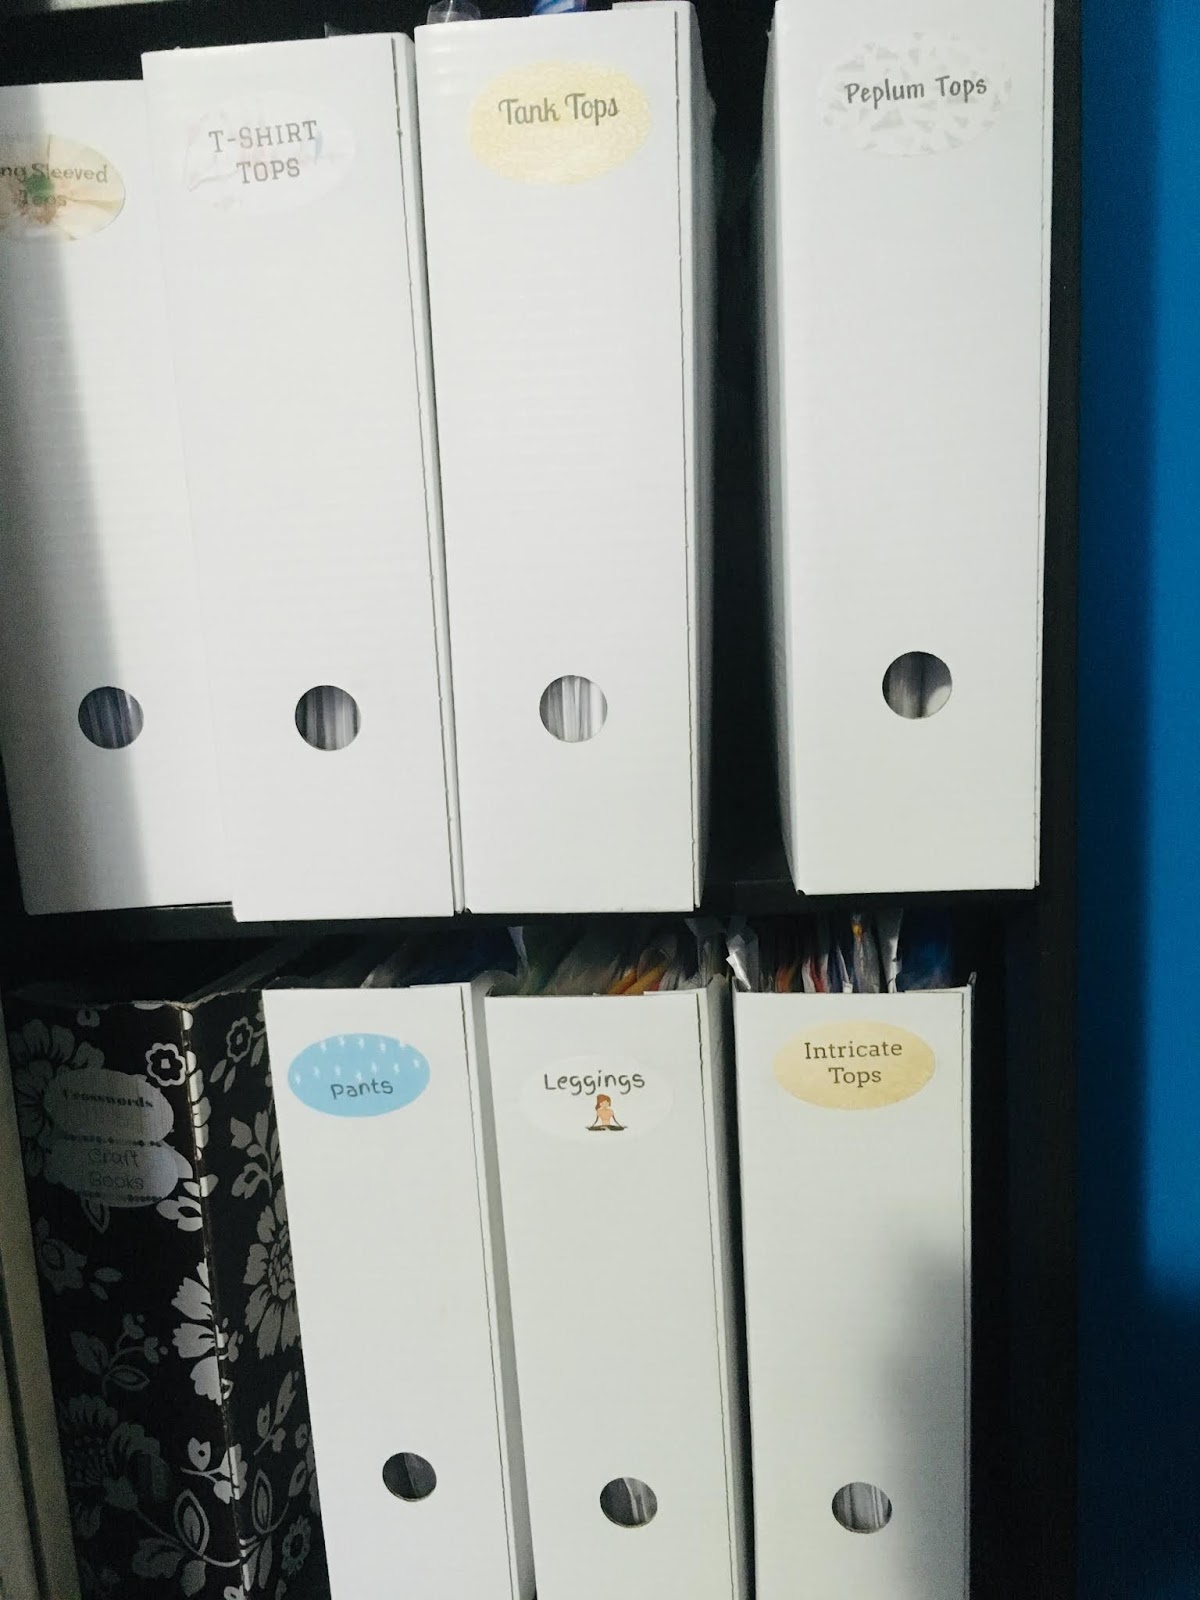
And finally my patterns were organized into magazine holders - el-cheapo at Ikea at 5 for $3.99. I'm glad I bought 4 packs, as I used them all!
Patterns are organized by type (i.e. Home, Hoodies, Leggings, etc.).
And these are only the patterns I have used. Don't ask about ones waiting in the queue.

Hopefully you have taken away a tip or two to help inspire you to organize even a small portion of your crafting items.
An organized craft room makes for a more enjoyable experience doing what we love.
Until next time!
An organized craft room makes for a more enjoyable experience doing what we love.
Until next time!