My Sewjo and creativeness are coming back as I live life to its fullest during these Crazy Corona Virus times. I workout to Beach Body Programs , hike through Coyote infested trails, and LOVE practicing Yin Yoga!
I am owned by my silly Rhodesian Ridgeback, and 3 parrots (the awesome, weirdo, and crazy nut), and would like to take you on this beautiful adventure I call life.
Showing posts with label sewing my wardrobe. Show all posts
Showing posts with label sewing my wardrobe. Show all posts
Life is too short to wear boring clothes. That's why Layla is the perfect party, office, or doing-the-laundry dress!
The Layla Dress has several options and features: - Fully lined - Princess seamed bodice - 4 Sleeve lengths - Button up back - A-line box pleated skirt - Pockets option - Sash option - Knit or woven fabric skirt option
The layla was a relatively easy sew - just follow the straight forward instructions, and voila! The pleats were a nice sew, and the seam ripper did not come out! I didn't have quite enough fabric for the entire front skirt with pleats, so I did make them a bit smaller than the pattern itself, ensuring that the front was the same size with less fabric than it would of been as per the original pattern piece. I used some Scuba fabric from Water Tower Textiles - and the scuba was light enough that making the sleeves didn't leave me feeling squished in, thus it has a great bicep circumference (mine tend to be large for more form fitted sleeves). The skirt is cotton fabric from Fabricland, and of course, I opted for the side pockets! Overall, it's a fun dress for work or a party, and I love that I can use woven or knit for the skirt part without needing to alter any of the pattern piece sizes. Get your Layla here. ***Affiliate Links Above used - I love these patterns, and without the help of those who love their patterns, marketing would be extremely difficult for the pattern makers we love and learn to love. Affiliate links help with the hours, fabric, and tears that go behind testing each pattern in order to provide a real-person view on the patterns for you (and me!)
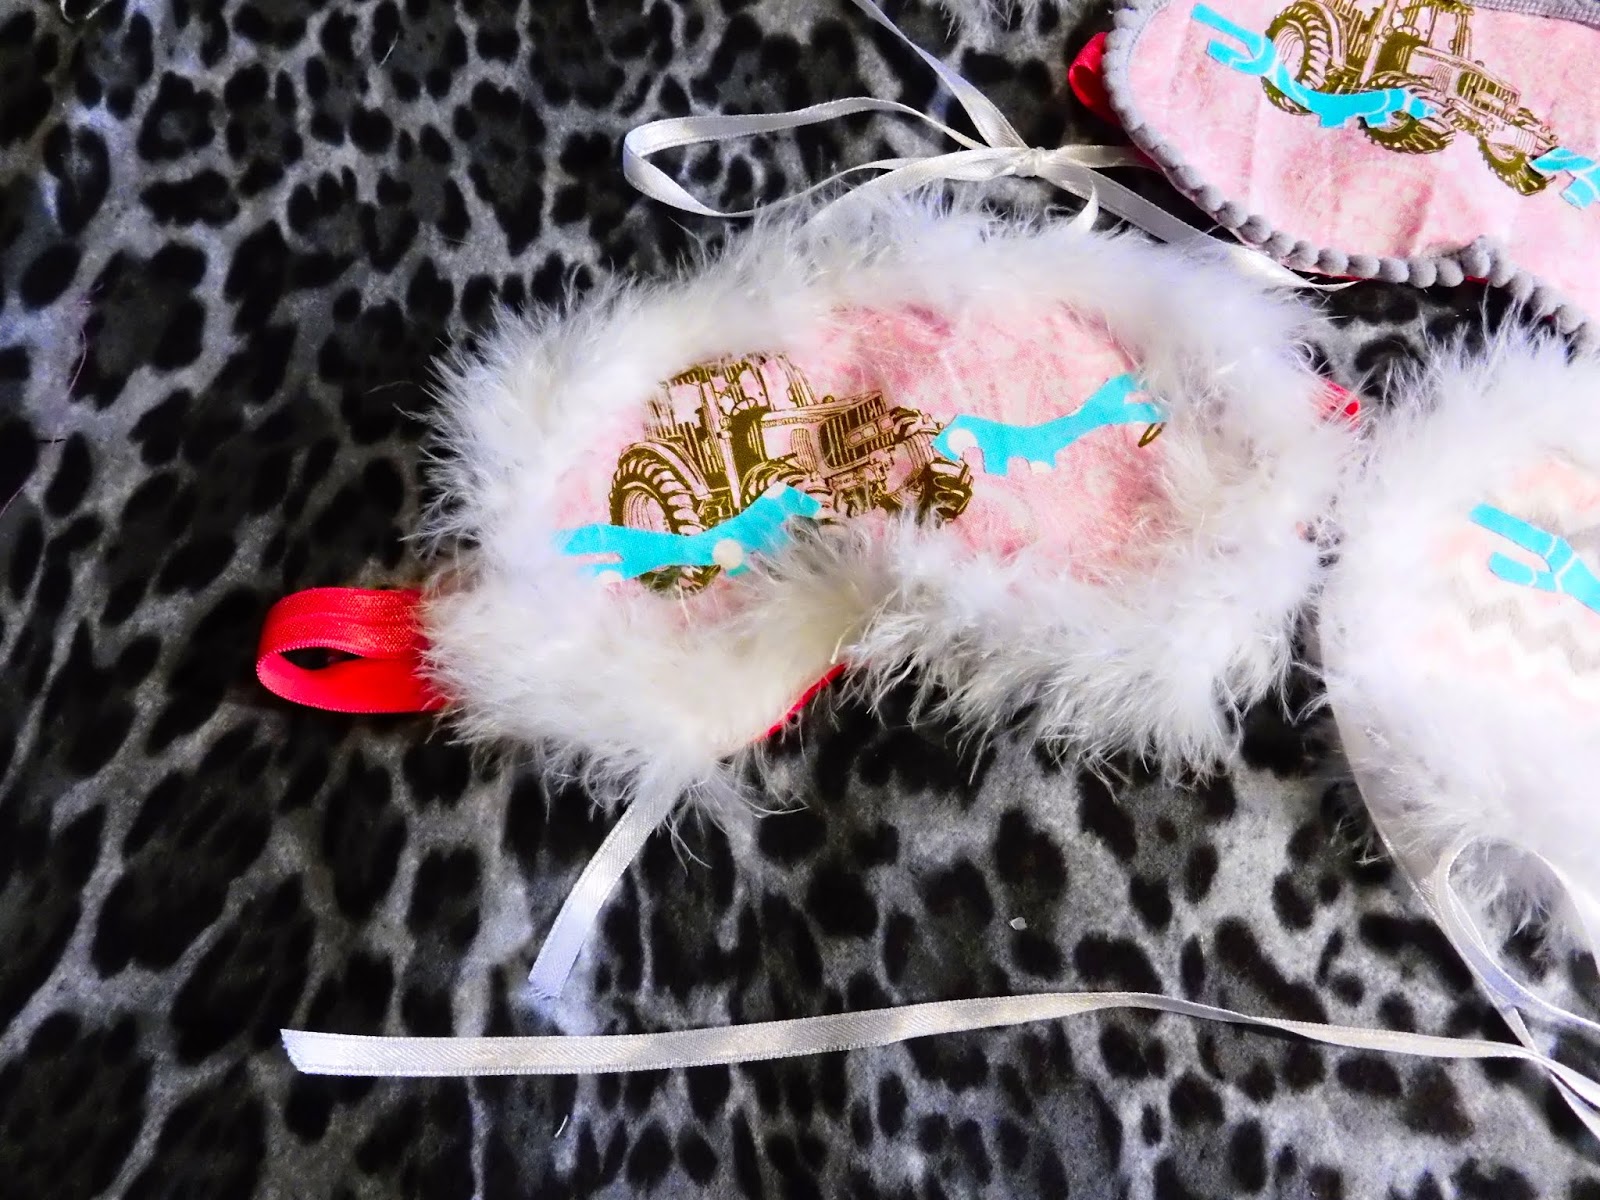
The new Rebecca Page Sleep Mask certainly helps me zonk out easier at night though! Make it as simple or as Intricate as you like! With templates for eye lashes and your imagination - the sleepy sky's the limit.
I added pom pom trim and fluffy feathery trim to mine - the fluffy trim definitely tells people you are sleeping though (it moves as you exhale - ha ha). I took out my glue gun for these trims, although they could easily be sewed on. With minimal wear and tear, I feel my Dewalt glue gun's power will hold on these trims for many years. I used iron on fabric for the eyelashes, but you can embroidery them on or even sew them on if you're so inclined. I used elastic for my nieces masks, and ribbon for the adult masks (for my friend and I for Girls weekend at the cabin). The main fabric is just plain woven cotton fabric scraps I was gifted.
The backing is a nice satin lining scrap - red to be scandalous! It's SUPER soft on my skin. As long as you use lots of pins before sewing, satin is relatively easy to sew with, and leaves a comfortable finishing touch.
I was really tired on Girls weekend after Mimosas, so the Sleep Mask really helped me sleep in the middle of the day with no curtains up in the cabin. Great gifts or for yourself - betcha can't just make one! Get your own Sleep Mask pattern here. ***Affiliate Links Above used - I love these patterns, and without the help of those who love their patterns, marketing would be extremely difficult for the pattern makers we love and learn to love. Affiliate links help with the hours, fabric, and tears that go behind testing each pattern in order to provide a real-person view on the patterns for you (and me!)
1. Never hate 2. Live Simple 3. Don't worry 4. Expect a little 5. Give a lot 6. Sew lots of Zen pants Okay, so I threw that last one in there, but sewing is my zen, and 5 out of 4's Zen pants make me feel bootylicious.
The Zen pants come with a few fun features - ones that make you feel like undercover Yoga pants (even when you're in the office!): - Shorts, Capris, or Pants length - 3 rise options - Faux fly option - Rivets or drawstring (options) - Patch Pockets on the front, back, and cargo pocket on the side (optional...but POCKETS!) - Maternity options
I sewed this amazing floral pair with Scuba fabric from Libelle sewing. It has the perfect amount of stretch and stability, and is soooooo comfy. Perfect for fall throughout spring here in Ottawa, Ontario, Canada!
I opted for a midrise waistband, front and back pockets, and it was a relatively quick & easy sew. The instructions are straight forward, and the fit is perfect for me.
I took 3" off the height - after measuring my inseam and comparing it to the finished length. I didn't alter anything else.
The view from the side is just as Epic. As you can see, the bottoms aren't too big or small, but just right, and there is no gaping from the waist band. I honestly thing a lack of proper fabric on my end has stopped me from making more Zen pants for my office attire and just for fun!
A less colourful pair of Zens I made last year were made from not as stretchy as I'd like suiting fabric from Fabricland. I made the same style with pockets and mid rise, and love these ones just as much (they're also easier to match with my usually colourful and colour blocked tops). So whether it's for serious work or play, the Zen pants are sooooooo comfy, you can't go wrong. Get your Zen on HERE. ***Affiliate Links Above used - I love these patterns, and without the help of those who love their patterns, marketing would be extremely difficult for the pattern makers we love and learn to love. Affiliate links help with the hours, fabric, and tears that go behind testing each pattern in order to provide a real-person view on the patterns for you (and me!)
The Rebecca Page Laura Top (and dress) pattern is a lovely sew and the perfect pattern for your lightweight fabrics! It includes the following options: - Sizing from XXS to 5Xl - Top or short Dress length - Knits or woven fabrics can be used - dropped shoulders - High low hem - Optional pockets
I am not normally one to wear higher cut tops, but the high front is on par, and the lower back covers my caboose, so I'm happy with the overall fit. The armcycle is very comfortable and not tight in any way - either on the shoulder or around the arm itself. The neck facing offers many options - I opted for the interfacing version with overstitching, and it was easy to follow the instructions.
Lots of pictures and verbiage definitely will help the beginner sewist gain more confidence while sewing and learning new skills - new skills are one of the reasons I keep sewing with Rebecca Page! I used a light viscose/woven rayon type fabric from Fabricland for my Laura and can't wait to sew more up (can someone give me more time in the day!?!). I paired my Laura with my altered Slim Fit Cargo Pants for a nice untucked look:
And with my slimmed down Posy Pants (4" off the side seams) as a tucked in top for the office:
So many ways to encorporate Laura into your wardrobe whether you are an experienced or new sewist. Follow the instructions, grade the pattern (after measuring yourself!) and have fun with Laura! ***Affiliate Links Above used - I love these patterns, and without the help of those who love their patterns, marketing would be extremely difficult for the pattern makers we love and learn to love. Affiliate links help with the hours, fabric, and tears that go behind testing each pattern in order to provide a real-person view on the patterns for you (and me!)
The 5 out of 4 Piper Pattern is great for beginner or advanced sewists. It offers a plethora of options, that make it perfect 365 days of the year! - Peplum or Hanky Top length - Dress Length - Pockets - Hood - Cowl - Regular Neckline - Thumbhole Cuffs (banded, or plain options too!) - Sleeveless, Short, 3/4, or long length sleeves
For my first version, I opted for Peplum length with Thumbhole Cuffs and a Cowl Neck. Now, I DID put pockets into the Peplum, but cut a good 3/4-1" off the bottom of the pocket curve, and it worked! It's enough room for my iPhone, change, and even a snack (because, SNACKS)! I love the flare of the skirt, and the drape of the cowl. Both were easy to sew up, and fit me perfectly first time around.
I used some sort of lightweight knit fabric and cotton lycra from Water Tower Textiles for this version - all light and airy - but definitely a fall and winter wear with the longer sleeves.
My second version has a hood (of course!), to which I used a soft sweater knit and french terry fabrics - also from Water Tower Textiles. It's like a hoodie, but fancy and feminine. I LOVE it. Again, the peplum sits at my natural waist, I didn't shorten anything (I'm 5-2", and love length on my tops), and it fits like a nice glove.
No seam rippers or bad words were used in the making of these tops. And I can't wait to make one (or three) for each season! The dress version is so pretty if you're a dress person - and the hanky hem is planned for my next Piper Top. Overall, I LOVE the options available, and it's the perfect pattern for any level of sewist. Get your Piper Here, and share on the 5 out of 4 Facebook Page once you're done - fan fare from the Pied Piper will ensue! ***Affiliate Links Above used - I love these patterns, and without the help of those who love their patterns, marketing would be extremely difficult for the pattern makers we love and learn to love. Affiliate links help with the hours, fabric, and tears that go behind testing each pattern in order to provide a real-person view on the patterns for you (and me!)
Style is a way to say who you are without having to speak.
The new 5 out of 4 Sally Skirt Pattern is just that. It includes several fashionista options: - Knee length or Maxi length skirt - Regular or knot twist band - POCKETS
The front is pretty sweet with the easy-to-follow instructions for the front knot option - I used a black cotton lycra (Water Tower Textiles) for the base band, and added some funky stretch lace (Libelle Sewing) for the knot part. I didn't need my seam ripper once! The pockets are the perfect height for my hands to just happen to fall into. Because POCKETS!
The side view is also quite nice - you can see with my Gloria Peplum top that there is no evidence of a fabric knot underneath, and it works well with my Sheila Top (tank to long sleeved, top to dress length!) tucked inside to really show the band off.
And the back - I like it, and I love the flare at my knees.
So if you love a quick sew, Sally is the Skirt for you (and Sheila is a super quick top sew up too!). Get Sally here.
***Affiliate Links Above used - I love these patterns, and without the help of those who love their patterns, marketing would be extremely difficult for the pattern makers we love and learn to love. Affiliate links help with the hours, fabric, and tears that go behind testing each pattern in order to provide a real-person view on the patterns for you (and me!)
I have troubles fitting into store bought corsets thanks to my smaller bust and bigger caboose. I knew when I saw the FREE Rebecca Page Patsy Dress pattern that one day I would remake my wedding dress based off of the Patsy pattern. It wasn't until recently that I thought I'd love to hack the pattern into a corset top.
Today, it's all about the Rebecca Page Sew Free for Summer Blog Tour. I mashed together the original FREE Patsy Party Dress bodice with its Mermaid Skirt Add On. I had a beautiful reddish dress that I wore for a wedding a decade ago. I will never be a size 2 again. But the dress was too pretty not to use again.
So I cut it up.
I also needed to alter the Patsy pattern to make it into corset/top length. I took the bodice pattern, and corresponding Skirt pattern from the Patsy Pattern Add-On pack, and clipped them together.
Make sure to overlap the pattern pieces by 1/2" (seam allowance) so the curve of the pieces is correct.
I then measured an extra 9" onto the skirt portion of the pattern to make the bodice hit my hip bone. How did I come up with 9"? I put the bodice pattern piece on the appropriate area on me, took a tape measure, measured down from the bottom of the bodice portion of the pattern, and figured 9" would give me enough for an 1" bottom hem.
I then traced the two clipped pattern pieces onto a few pieces of computer paper, labelled the pattern, and repeated for the other 4 pieces. So I now have revised Center Front, Side Front, Side Back, and Back Pieces - all top length
I started my sewing day the traditional Canadian way:
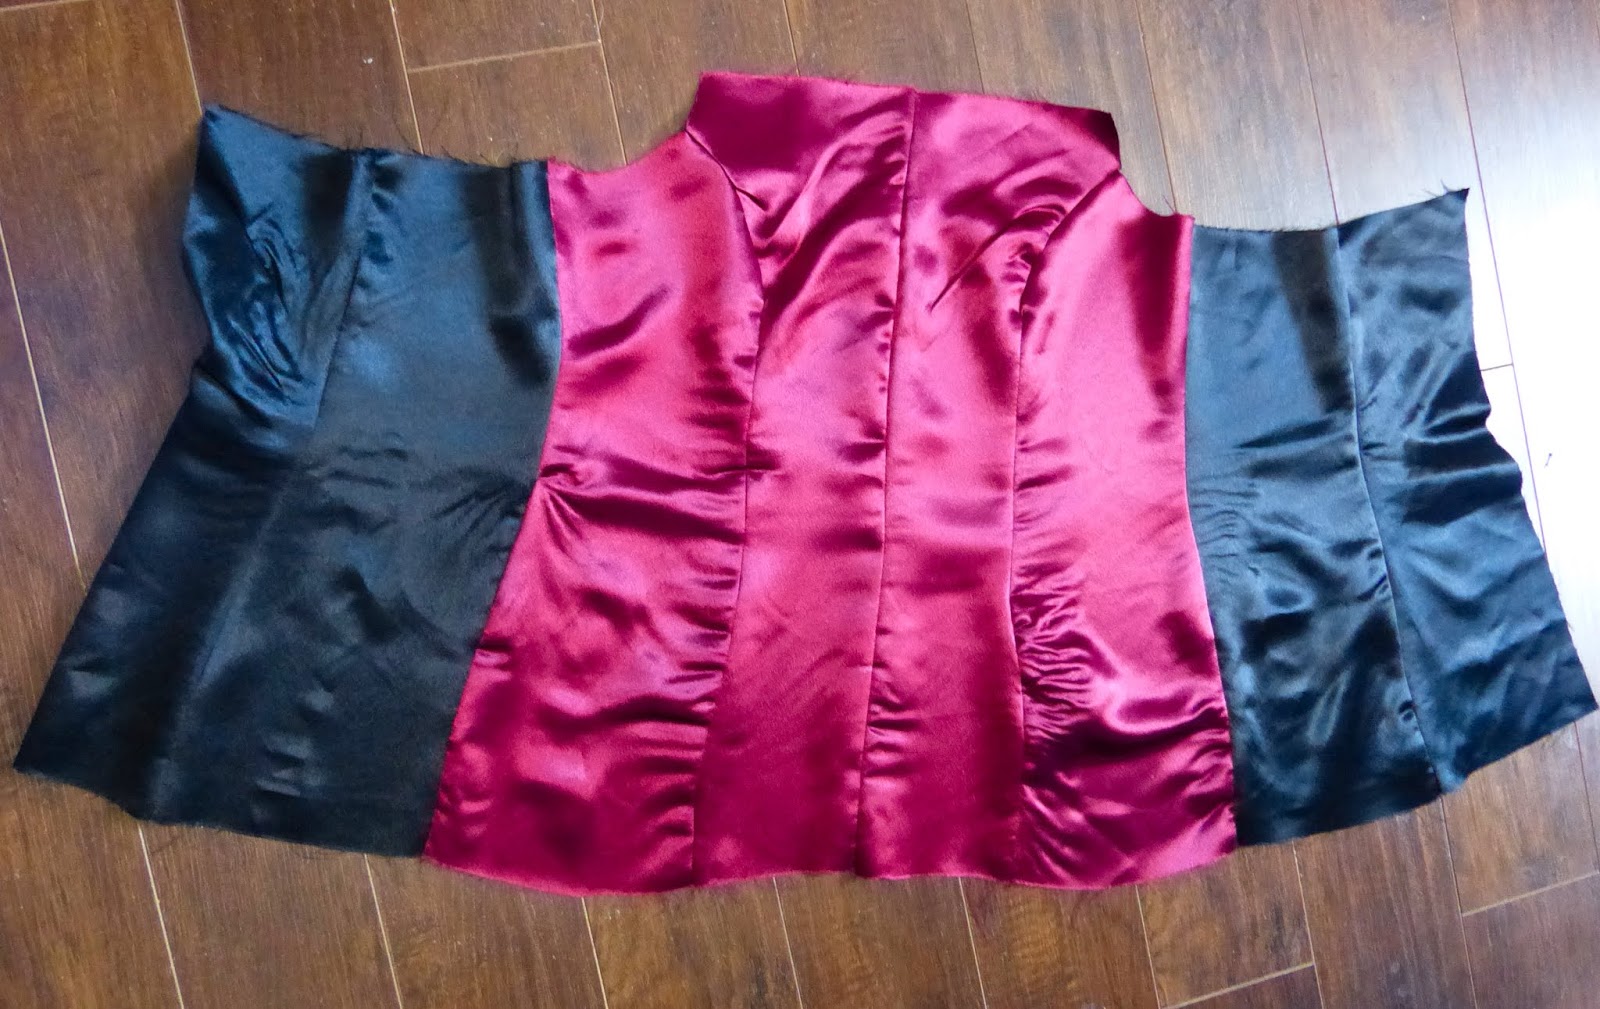
I then cut out my pattern pieces...during which, I realized there wasn't quite enough fabric from my old dress. So I improvised. I had a cotton fabric similar in reddish colour, and some black and silver lace fabric...cut both out of the front side pattern pieces, and basted the lace on top of the boring cotton fabric. They are now treated as one piece.
I also lacked enough exterior fabric for my back panel...so I sewed together two pieces for each side, and covered the seam with some black lace.
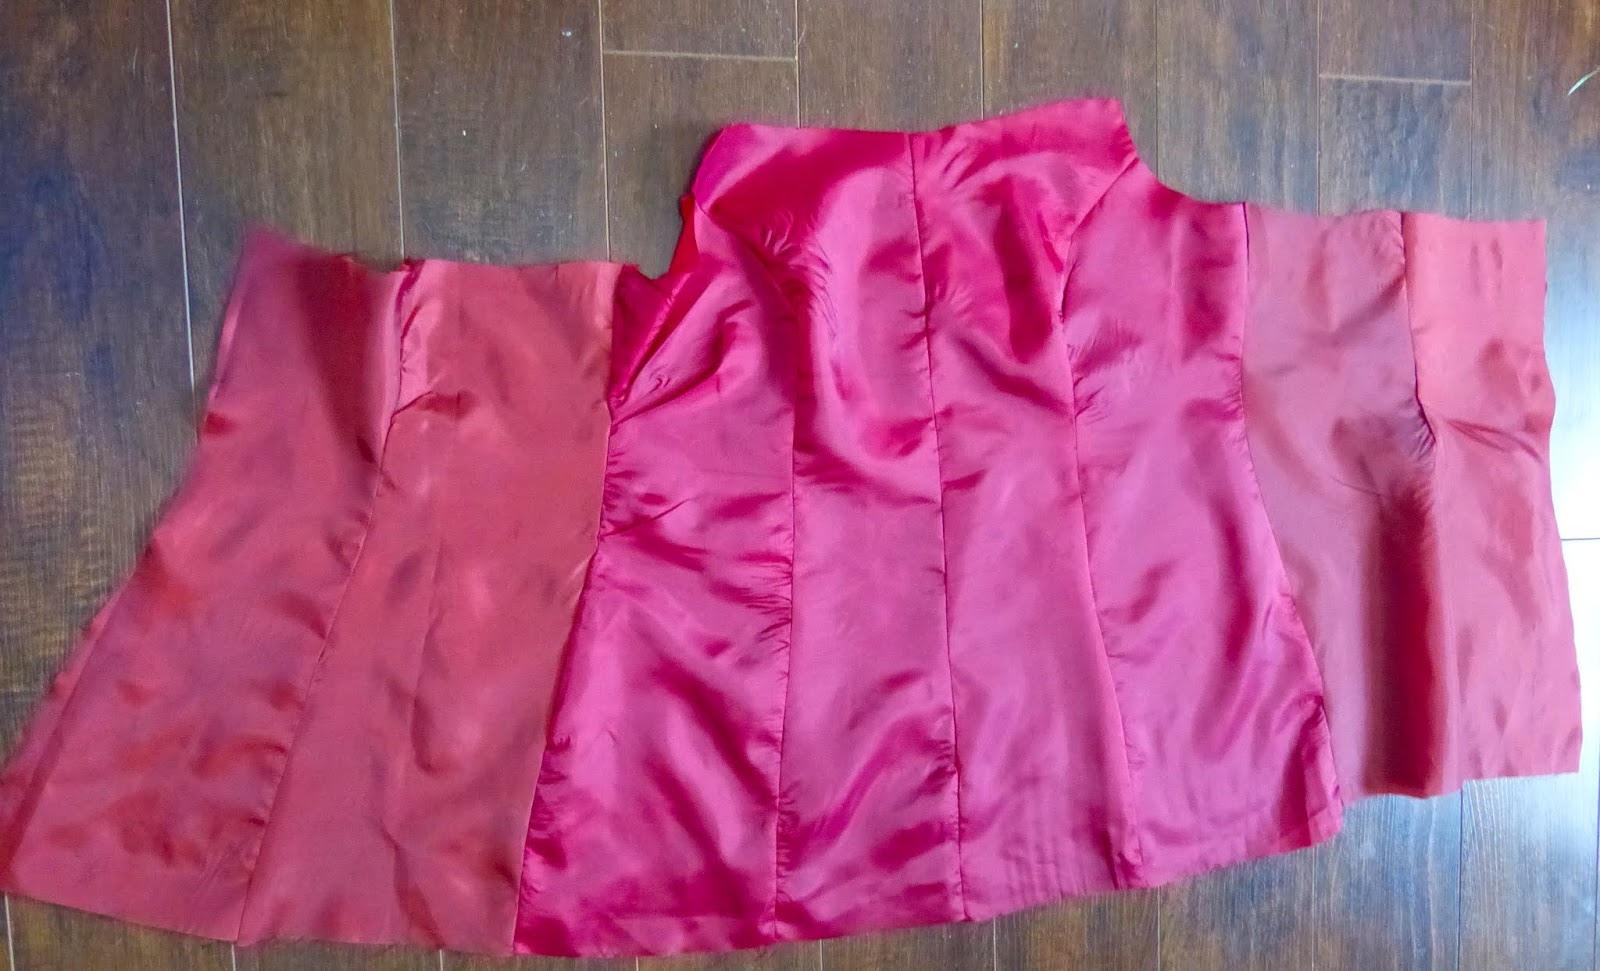
I then followed the pattern instructions to create the exterior, interlining, and lining of the top. Oh yes, I also lacked enough of the same colour fabric for the interlining and lining - so used what I had on hand.
I continued following the bodice instructions until it got to the skirt part. With no skirt, I had to hem the bottom and also shorten the width of the back panel for the corset back. I wrapped the top around myself, and gauged how much I would have to take off the panel, with enough room for an inch on either side where the grommets were going to be. Once I figured that out, I pinned the sides, and stitched 1/8" from the side, and 1" from the side to make a nice area for the grommets to be installed.
After stitching the side, I then folded up and pinned the bottom hem, and the bottom hem was done.
Grommet time! Most grommet packs have instructions on them - follow the instructions. Side note: These took me some time, as there are 7 on either side, and I had to carefully bore out 14 holes - through 3 layers of fabric. Netflix and Prime Video are your friends during sewing time!
I also added in some lingerie elastic where the original sleeve placement marks were - and reused the original straps that came with the dress. This way, I can either have straps, or remove them if I don't want them.
And that's how to make a top length AND corset version of the Patsy Party Dress. The Patsy Party Dress Pattern is FREE here. And the Patsy Party Dress Add-On, where I was able to fully draft a nice curved top bottom is here. I've paired mine with my Pippa Pants for a more casual look, and you can make the top just a top with zip back as per the original pattern, or add the corset into the dress! Pair the top with the Stevie Skirt or High Low Skirt for another fun two piece ensemble. The choices are endless!
More Inspiration
Please visit all the stops on the Rebecca Page Sew Free for Summer Blog Tour for more great inspiration:
We will be giving away a pattern bundle of choice each day PLUS an overall grand prize of a $50 pattern credit. To stand a chance to win, all you have to do is comment on each blog, each day so stay tuned to the Rebecca Page Sewing group for updates from our bloggers!
***Affiliate Links Above used - I love these patterns, and without the help of those who love their patterns, marketing would be extremely difficult for the pattern makers we love and learn to love. Affiliate links help with the hours, fabric, and tears that go behind testing each pattern in order to provide a real-person view on the patterns for you (and me!)