Showing posts with label Quiet Book. Show all posts

Thursday, 22 November 2018

Be Very Very Quiet....The Rebecca Page Patterns Quiet Book Christmas Hack!


I love the Rebecca Page Quiet Book, and really enjoyed making their Advent Calendar last Winter. 

This brings me to meshing together two patterns into one 


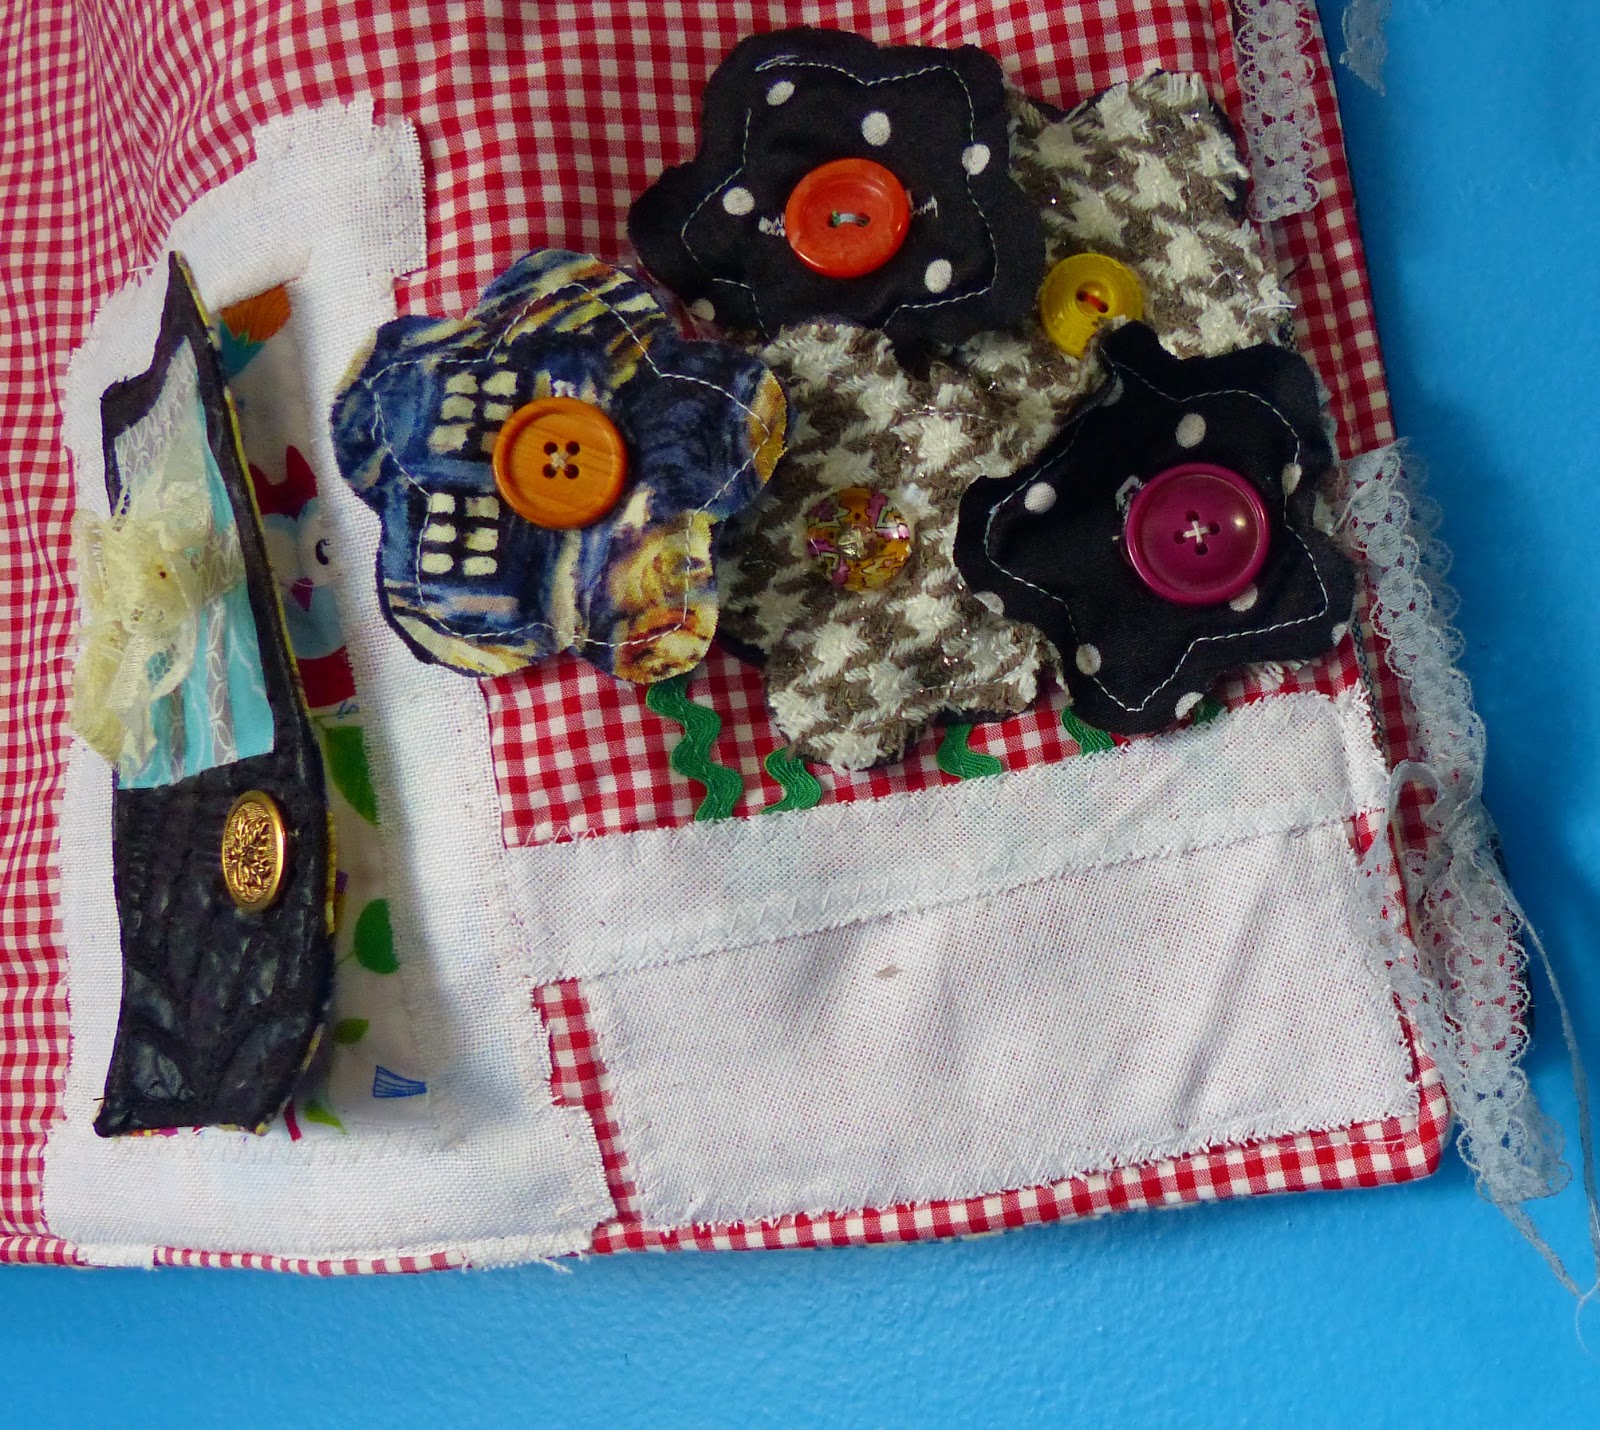
Let me remind you of my original Quiet Book (with the Add on Pattern Pages).


With my newest idea,  I used 4 different patterns:


I started out with the most important part -Santa Claus!

This is part of the Quiet Book Add On, and was pretty simple. 

I used the boy pattern for the body, head, and hair. 

I freecut a felt beard and moustache - I just glued it on after Santa was fully stuffed and put together.

I used iron-on patch fabric to iron on the hand cut eyes, nose, mouth, and eyebrows (before sewing the head together with the body!), 

Glue gun came out again to glue the black belt (aka ribbon) around his waist, and a cute emerald rhinestone for the belt buckle. 

The hat is just two triangle pieces of felt sewn together at the side seams - I measured the Santa's head circumference before cutting, and it's the perfect fit.  I sewed lace on afterwards for the "fur" effect. So it's removable- and Santa has all of his hair!

A little button I glued on (oops - it was an afterthought) underneath the beard to really finish him off. 


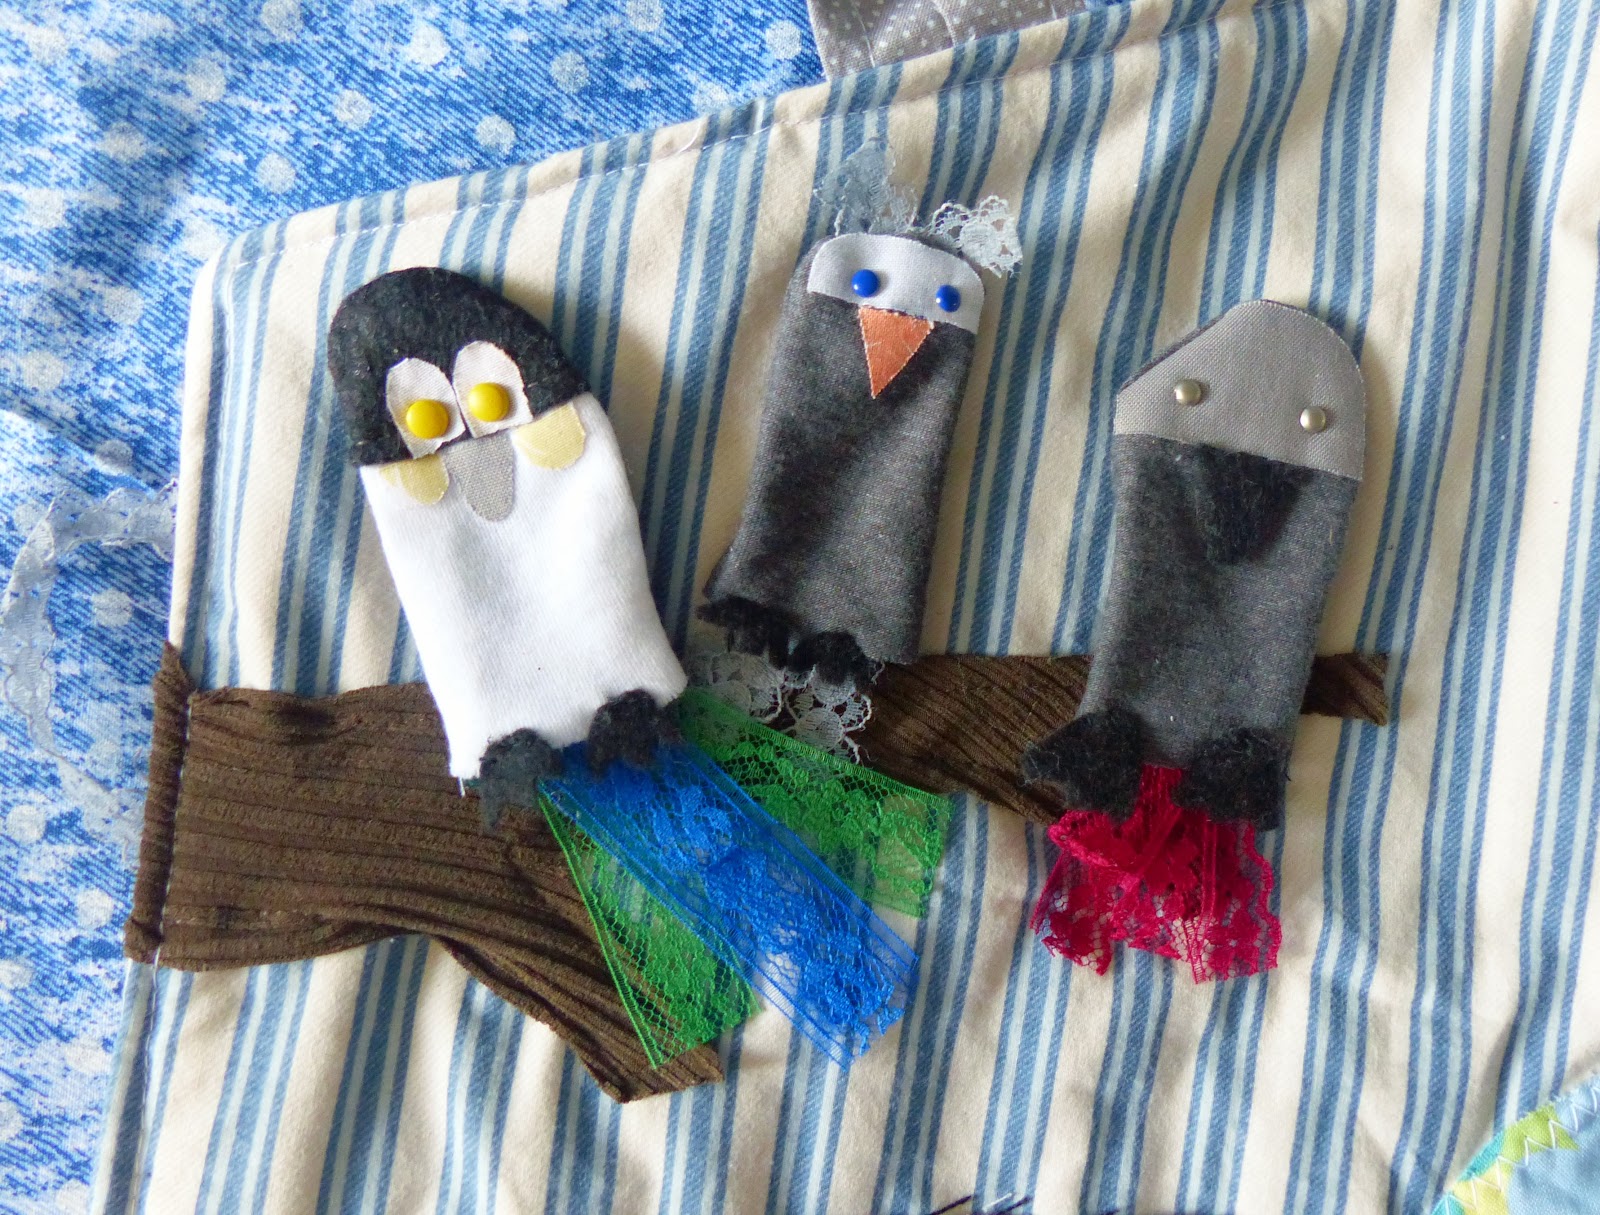
Next was my first room.  I opted for the Pond from the Original Quiet Book, the Branch from the Quiet Book Add On, and used felt Icicles, Snowflakes, Skates, and Gloves from the Free Advent Calendar.


I glue gunned all the Advent Calendar pieces for this book - no one has time for that much sewing after all the cutting!  

For the Snowflakes, I glued cute silver rhinestones in the centre, and even added a little white snow puff on the branch (which is actually the "leaves" pattern of the original Quiet Book branch). 


The penguin is from the Quiet Book Add on - it was a "Chick" pattern, but I just hand cut a white belly, black wings, and black tail, used Brads as eyes and a beak, and sewed a snap onto the back (and a few on the page) to help with motor skill, and so he could move around on different pages. 


The skates were from the original Advent Calendar, but I traced around them to increase the pattern size by 1.5, and just glued them to the one layer of pond - I feel they are a cute touch. 


Here's Santa and the Girl Doll - the gloves are attached to a ribbon together, and can just be hung around her neck or stuck into one of the pond pockets.


The Living Room is from the first Quiet Book.  

I added in a hand drawn Christmas Tree adorned with Candy Canes, Star, a Gift, and Stocking from the Original Advent Calendar.  

The pictures of Santa and Snowman (from the Advent Calendar) are framed with frames from the Quiet Book Add On. 


I put Candy Canes from the Advent Calendar onto each side of the couch - a Merry cute touch!


Santa can pick up some of the items - like the Present and Stocking, which both have Snaps sewn onto their backs (and snaps are sewn under the tree).

The tree is decorated with rhinestone ribbon and Rhinestones. With a cute Advent Calendar Star on top, it's ready to be lit!


See how comfy that couch is??


The Bedroom is from the Original Quiet Book, and I included the Add On Advent Calendar Tardis & Sewing Machine. 


The Girl is dreaming of Tardis and Sewing Machines at night - both from the Avent Calendar Add On.


I used iron on patch fabric and buttons for the drawers & applique on the sewing machine, and felt for the sewing machine & Tardis. 

The Tardis does have a snap sewn on the back so it can move through space and time. It wouldn't be a Tardis otherwise!


The final room is the Kitchen, from the Quiet Book Add On

I've included Gingerbread Men, Bows, and the Wreath from the Original Advent Calendar


The oven dials are cute Tree Brads - so they actually turn (sort of). 


The Gingerbread Men and cake move thanks to more snaps - causing a lot of chaos (as that's what Gingerbread Men do!).

So be creative and make a few holiday pages for your Quiet Book!  Or start with a Christmas Quiet Book and add on more pages.  

I find with the add on, button holes and ribbon make it SO much easier to add as many pages as you like.  And it's super simple to turn the pages as well. 

I can't wait for my nieces' reactions to the book - double trouble with The Twins!

Share your creations on the Rebecca Page Facebook Page so we can all be inspired!

***Affiliate Links Above used - I love these patterns, and without the help of those who love their patterns, marketing would be extremely difficult for the pattern makers we love and learn to love. Affiliate links help with the hours, fabric, and tears that go behind testing each pattern in order to provide a real-person view on the patterns for you (and me!) 


Wednesday, 6 June 2018

Sewing Pattern Review: Rebecca Page's The Quiet Book Add ON


The newest Rebecca Page pattern - the Doll's House Quiet Book Add On - had me hooked from the moment I set my eyes on it!

My imagination ran wild, and I went a bit off course from the pattern with adding in SO many personal touches.

I have no kids, but I have imagination and am a big kid at heart. I wanted to create our story - our life!  So from home to driving to our camp land, to tenting it under the stars with a bit of Geekdom - here's a peek into our life. And with the Add on, having the option to add more pages in, I'll continue adding on pages as life happens.

What is included in the Original Doll House Quiet Book?
- 5 rooms - Bedroom, Living Room, Tent, Swimming Hole, Campfire
- 3 Dolls - Mouse, Kitty, and Bear


I used the Bear and Kitty from the original for my dolls...but ALSO added in my own pets - our two Rhodesian Ridgebacks, Fynn and Gideon! 

How, you ask? 

I found a few different silhouettes on Google, printed them out, and sewed them together - Gideon looking up at us (as he does), and silly Fynn looking in the distance with a bandana on.


What is included in the Add On for Dolls?
- A boy and girl with several hair options to create Mini-Me's!
- There is a skirt option or pants option for bottoms.

I MADE them myself and Husband.


Husband has a Star Wars shirt on, and cute belt with belt loops (hand sewn!).


I have an infiniti scarf, silly top, jeans with POCKETS!, and a lace sash to add some more girliness.


This pattern has no limits!


For the Add On, it includes more pages:
- Road & Hillside
- Barn
- Outhouse
- Tractor
- Garden
- Kitchen
- Bathroom
- Backyard

I opted for:
- Original outside house
- Add on Buttons for expansion
- Road & Hillside
- Outhouse WITH Fire pit (I'll tell you how!)
- Tent


So I used both the original AND Add On Bundle for my book


Aren't those flowers cute?
Buttons for the Add On
Dolls playing in front of the house!
We're home!


It's bigger on the inside!
Front door with button to open it, and cute curtains hung
Ready for picking! The flowers are removable!


Next up are the Road and Outhouse Firepit area.

I'm creative, and decided the finger puppets included with the Farm design were meant not to be chicks, but our 3 parrots! 


So I created our African Grey, Cockatiel, and Caique Parrots! These were totally free styled with their feathers, and I used lace, felt, and ribbon for a great end result. 


I attached snaps to their backs, and snaps in the clouds and above the tree branch to allow them to perch where they wanted to.

I cut a piece of gnome fabric I had to be the "driver" of the car as well - because I like gnomes.

AND for the fire pit, I just halved the pattern size in order to fit it beside the fire pit.  We love our fire pits at our camp land in Quebec!


Both inner pages
Speedy gnome with button wheels and headlight!

Don't let the cat get the birds!
See the snap on the back?
I really love how they turned out!  Rosco, Stryder, and Merlin - SO cute! 

The outhouse page!
Handy Carrying Strap
Notice the clouds on the straps!  And I stuffed the logs too for a full effect.

Everybody poops!


Oh Husband - peeing with the door open again! And notice his CUTE pockets!  That's iron on patch stuff I got from Walmart and cut to size. Ironed on before putting the stuffing in.


Look at the details!  Even a button to hold the door closed.


Last but not least, the Tent Page (back).

I made a shooting star, and added a Tardis by the moon!  If you know what the Tardis is, you're Geeky Cool!

I added lace to the bottom as I accidentally cut the exterior flaps too short - it looks pretty!  And then I needed to add Ribbon to the sides and front flaps to finish off the edges of the linen I used for the main part of the tent.


Tent Page!
See the Tardis??


Shooting Star!


Night time! 
Lace fixes everything!


I LOVED making this book.  It was a work of dedication with so many little details - but I loved the ideas that it encouraged.

It's also a great scrap buster.

I highly recommend this pattern for your kids, nieces, nephews, grandkids, kids you like, YOURSELF! 

Bring out the kid in you while creating it and owning it - make it YOURS.

Around Christmas Time, I highly suggest the Advent Calendar or its Add On.  Add on a page or two for the kiddos with Christmas Cheer from those patterns and totally freestyle the Quiet House!