Tuesday 27 August 2019

Put a Twist on It - 5 out of 4's Sally Skirt

Style is a way to say who you are without having to speak. 


The new 5 out of 4 Sally Skirt Pattern is just that. 

It includes several fashionista options:
- Knee length or Maxi length skirt
- Regular or knot twist band
- POCKETS


 The front is pretty sweet with the easy-to-follow instructions for the front knot option - I used a black cotton lycra (Water Tower Textiles) for the base band, and added some funky stretch lace (Libelle Sewing) for the knot part. 

I didn't need my seam ripper once!

The pockets are the perfect height for my hands to just happen to fall into. Because POCKETS!


The side view is also quite nice - you can see with my Gloria Peplum top that there is no evidence of a fabric knot underneath, and it works well with my Sheila Top (tank to long sleeved, top to dress length!) tucked inside to really show the band off. 

And the back - I like it, and I love the flare at my knees. 

So if you love a quick sew, Sally is the Skirt for you (and Sheila is a super quick top sew up too!). Get Sally here.


***Affiliate Links Above used - I love these patterns, and without the help of those who love their patterns, marketing would be extremely difficult for the pattern makers we love and learn to love. Affiliate links help with the hours, fabric, and tears that go behind testing each pattern in order to provide a real-person view on the patterns for you (and me!)  

Monday 26 August 2019

Gloria Gloria - The 5 out of 4 Sewing Patterns Gloria Peplum Top Review


I really didn't think Peplums would be great for my body type - hourglass shaped with a caboose, I thought they would make me look bigger. 

The 5 out of 4 Gloria Peplum was my first foray into Peplums last year, and a success!  

She comes with a few options:
- No to long sleeves
- Full or split sleeves
- Finished cuff or gathered cuffs
- Peplum, Regular Skirt, High Lo Skirt options


The Gloria was a simple sew with a different arm option - the split sleeve!  

I originally had the elbow length sleeve, however, cut it to short sleeve as my sleeve fabric wasn't drapey enough and looked weird with a longer sleeve. Lesson learned. 

I love the way this Peplum fits and that it wasn't a fabric hog - it's quite flattering, even at a shorter length than I normally would wear. 


I can't remember where This turquoise and unicorn fabric came from - likely Okee Dokee Kids Fabrics. 


I paired this Gloria with my Capris length Diane Joggers, and it's the perfect match!

The sleeve opening definitely works better with a softer and drapier fabric, and it sits flat on my arms. 

I used lightweight cotton lycra and rayon fabrics from Water Tower Textiles


Here's a close up on the sleeve and side - I love this little peek-a-boo effect!  

And the drape of the top - it helps cover up things I'd rather not think about, and makes me feel confidant wearing it. 

You can get your own Gloria Sewing Pattern here! 

***Affiliate Links Above used - I love these patterns, and without the help of those who love their patterns, marketing would be extremely difficult for the pattern makers we love and learn to love. Affiliate links help with the hours, fabric, and tears that go behind testing each pattern in order to provide a real-person view on the patterns for you (and me!)  

Friday 23 August 2019

Bird Bird Bird, Bird is the Word! Rebecca Page Capetastic and Felt Wings Sewing Patterns Review

Did you know that I worked with parrots for 5 years?

I slept, breathed, and adored the ones I raised, and loved educating people on the ins and outs of life with pet parrots. 

I am currently owned by Stryder, the 15 year old White Faced Cockatiel - spunky and sassy, he loves making paper forts on the bottom of his cage, bells, seed treats, pasta, and broccoli. (I feel like this is a dating ad - he's single, ladies!)

We originally thought he was a girl (Arwen), until he had his first moult, and oopsie -  lost his pearl markings and thus a boy (and indicator of sex in this particular colouration).


 Then there's Rosco, the jerk of a Caique. When I got him 12? years ago, I was only supposed to babysit him for a week for his breeder, and he never went back to her. Caiques are hilarious babies, but from the forums I went on when he was 9 months old onwards - when he turned into Jekyll/Hyde after a traumatic babysitting experience with a, "trusted," friend, everyone had the same Caique issues. He will bomb dive, goes for blood, has attacked another bird, and is a bit evil. But we have a bird room, and he generally respects me and doesn't try to eat me. I let him out while I work in the office next door, and he has a hoot on their jungle gyms, ropes, and even eating food (his favourite hobby). 

If he were human, he'd be a  gang of one. He does not play well with others. 

But he laughs and chatters with the other birds all day, loves his food, and has a good life other than his anger management issues. 


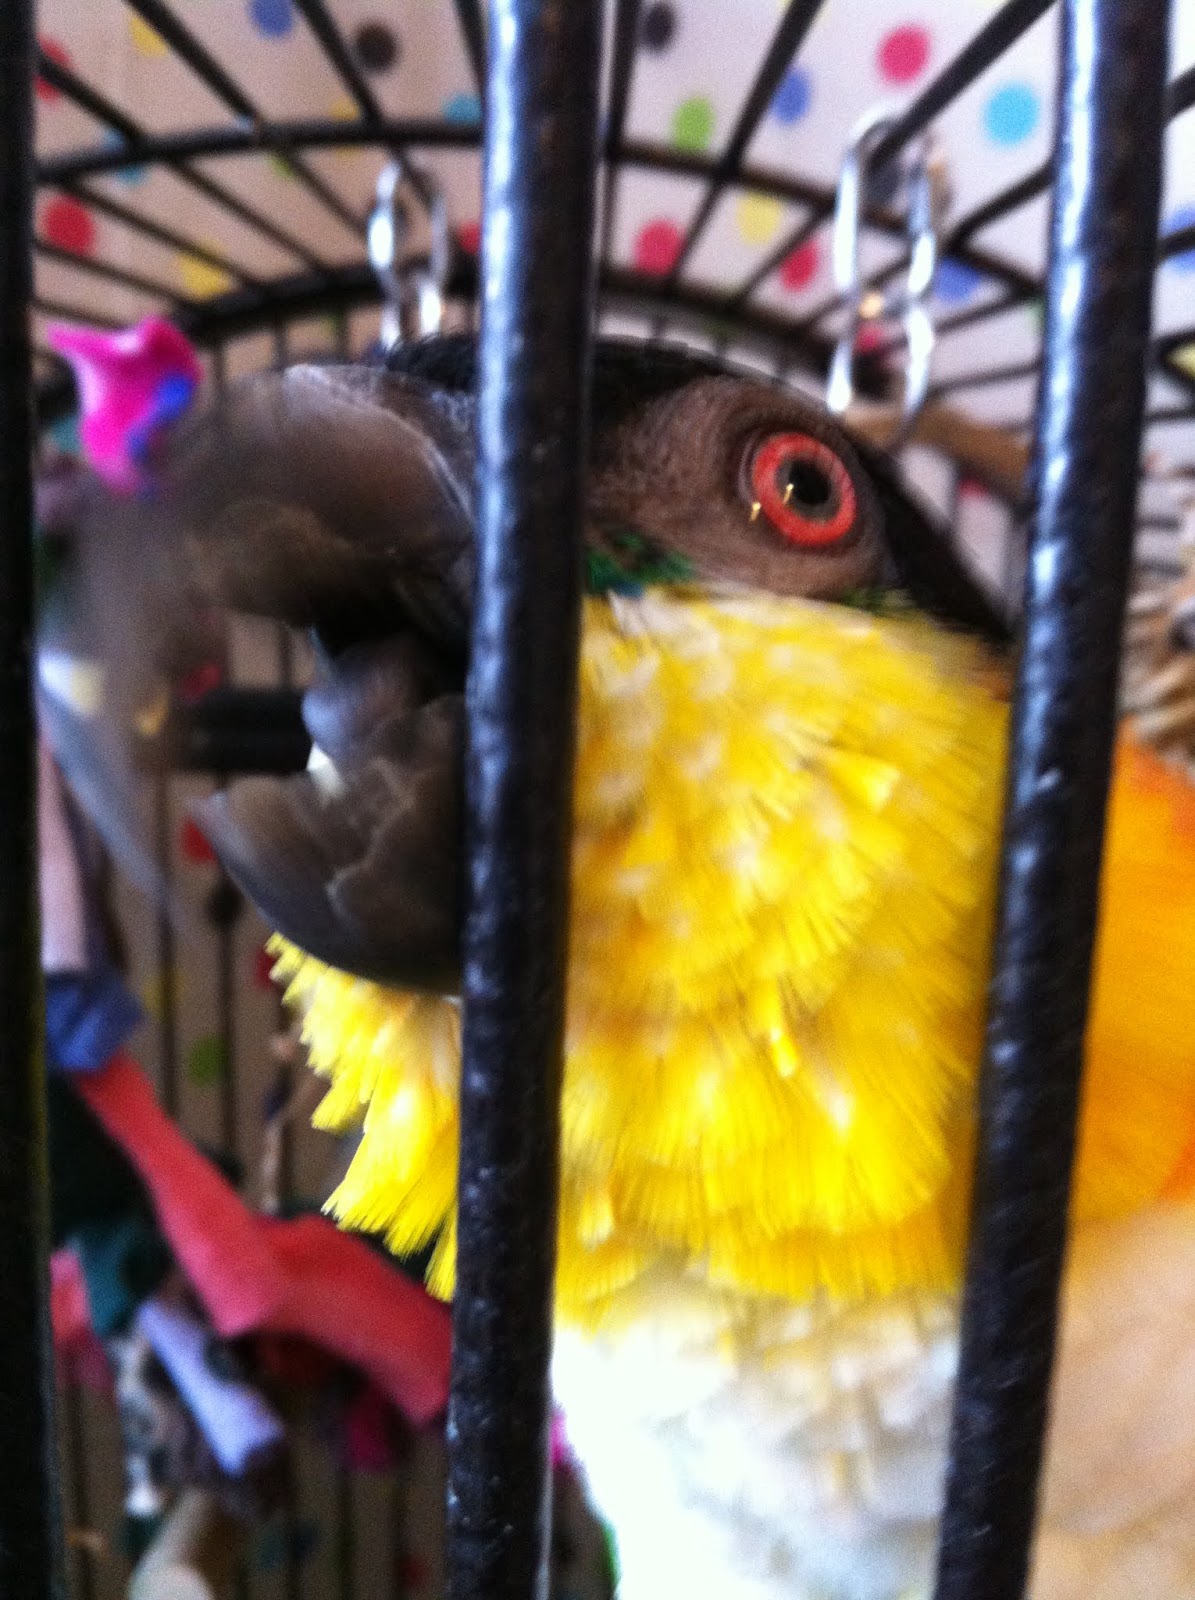
 Then Merlin. My Merlin. Husband thinks he's his...and Merlin does walk around the house calling, "My Love" in search of Husband on a regular basis. Meh. Interspecies love at its finest. 

He's 20 years old. I've had him half of my life. I got him when I was 20, knowing fully well that it would be forever. I'm going to outrock him in 40 years! 

Knowing his sarcastic wit, he'll probably do a dance, rap, and then make a sarcastic comment while calling one of the dogs as I pass away rocking. 


Merlin and I almost a couple of decades ago!
Anyhow, I love costumes, and bird costumes are pretty epic as they are detailed, but well worth the end result!  

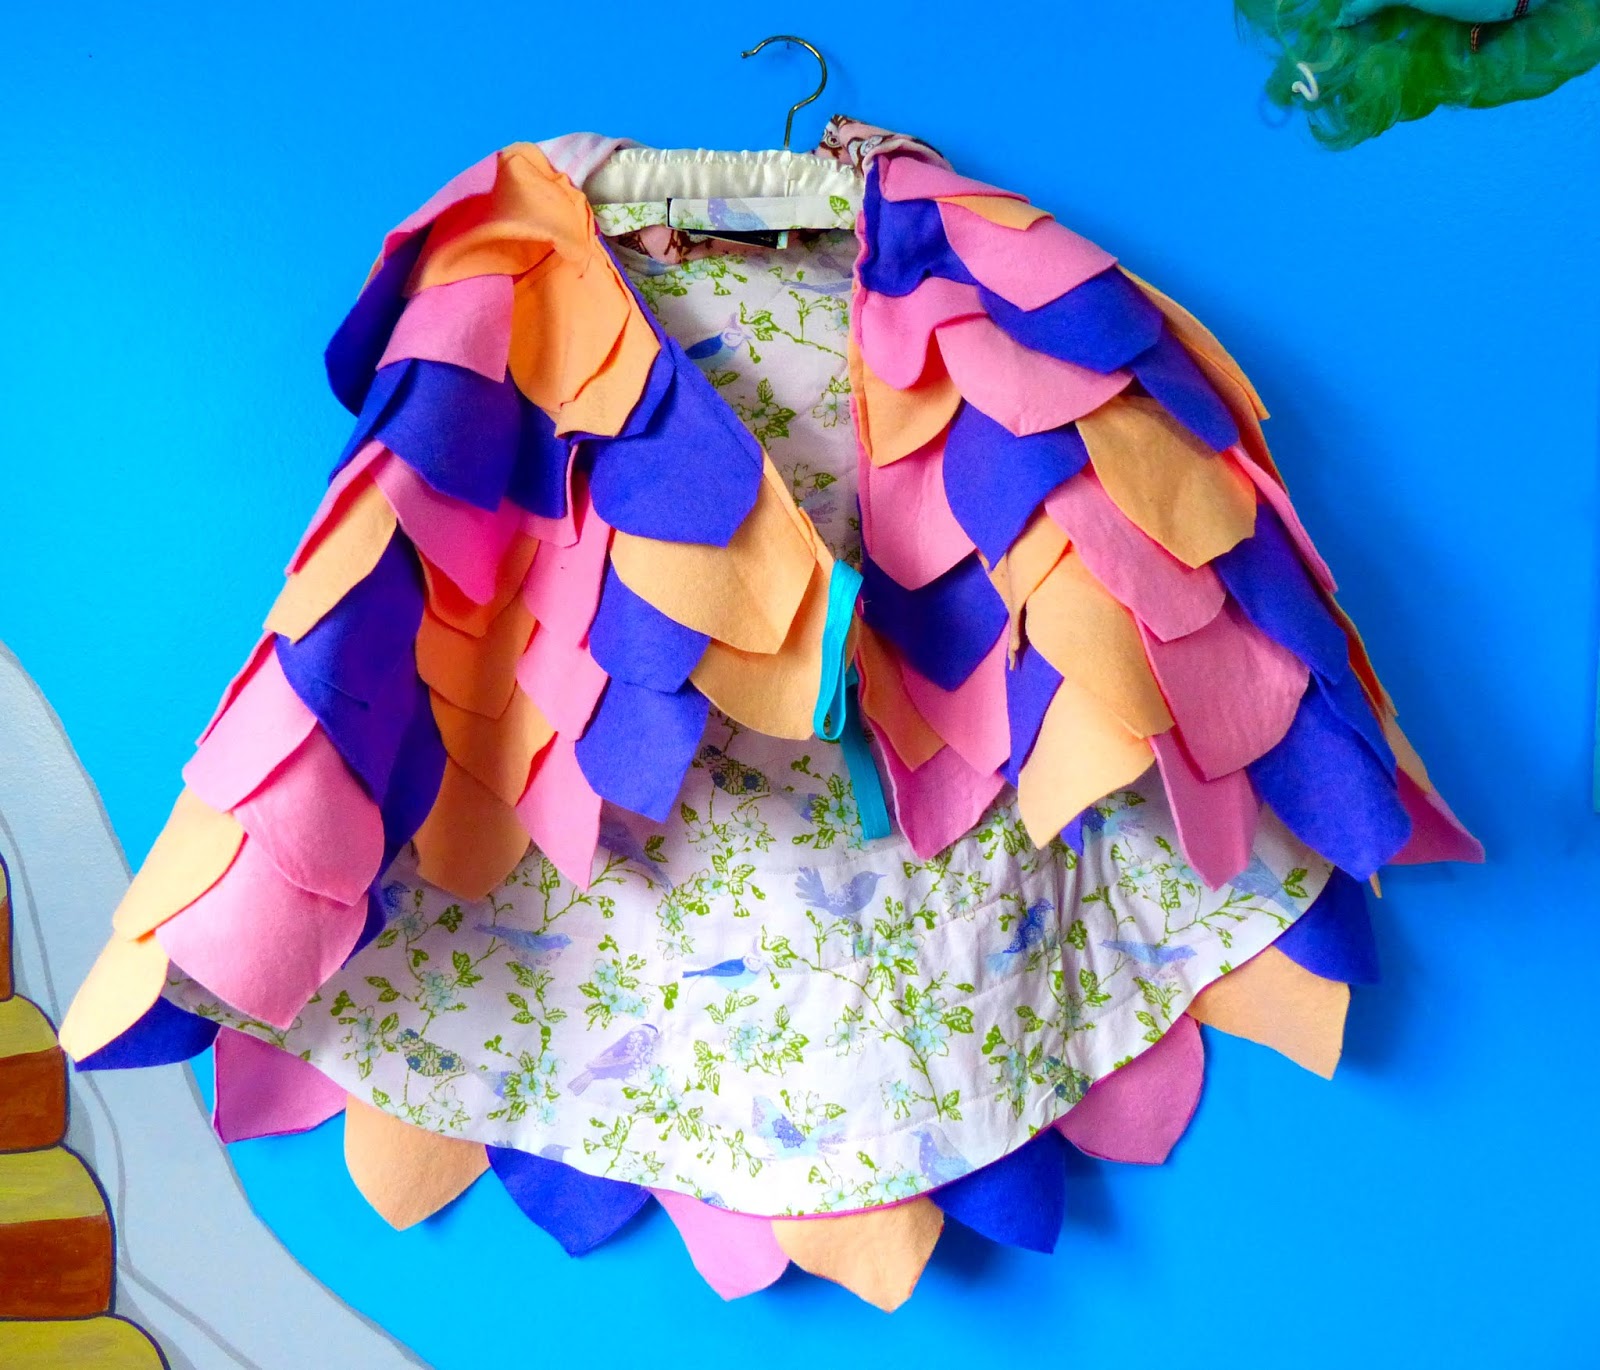
The Rebecca Page Capetastic allowed me to use my inherited felt stash in a cute owl form!  

There's a plethora of ideas added with the pattern, and it's pretty straightforward to follow. 

You can make a Dragon, Butterfly, Octopus, Mouse, and do many more creatures for playtime or Halloween!


I used random cotton fabric for the interior that I'd purchased at Walmart during a trip to the USA several years ago - the bird motif felt appropriate. 

I love the quilted inside look from sewing on all of the feathers - which is easier than you think!  It's a nice therapeutic sew.


The next set of wings I sewed up were the Felt Wings (also Rebecca Page). 

You can either get just the Felt Wings Pattern, OR the best value is the Felt Dress Up Sewing Pattern pack, which includes the Felt: Crown & Wand, Animal Masks, Flowers, and Wings. 

Again, another pattern with easy to follow instructions and great for playtime or a costume (or if you just like to walk around the house with wings on). 

I used inherited felt for this pattern, and they turned out amazing. 

The feathers have 4 different feather type options, and I opted for the more feathery shape. The other shapes definitely lean more towards other creatures like dragons, dinosaurs, fairies, and more!

These are much quicker to sew up (less feathers), and attached just on the arms via elastic or ties. Great for those who don't like to be enclosed in a hooded cape.


The interior is made from funky parrot cotton fabric from Fabricville (I also used it in my Andie Anorak), and again the feathers being sewn on leave a  lovely quilted design on the inside.


So if you don't mind watching some Netflix while cutting dozens of felt or fabric feathers, the rest of the patterns is relatively quick and simple. 

I love these as an adult, and would of loved them as a kid!  

These would also make amazing Hallowe'en costumes, especially the Capetastic, as they provide some warmth - at least here it's always chilly, so having a breathable self made costume would be able to truly showcase your little one's costumes without the need for a coat. 

Get your Capetastic pattern here.

Get your Felt Wings Pattern here.

Go all out and Get your Felt Dress Up Pack Here.

***Affiliate Links Above used - I love these patterns, and without the help of those who love their patterns, marketing would be extremely difficult for the pattern makers we love and learn to love. Affiliate links help with the hours, fabric, and tears that go behind testing each pattern in order to provide a real-person view on the patterns for you (and me!)  

Friday 16 August 2019

The Moto Hack - Rebecca Page's Cargo Slim Pants Sewing Pattern


So, I decided to sew up the Rebecca Page Cargo Slim Pants this winter and add a Moto hack to the front thigh, but wasn't in the best frame of mind at the time (miss you, Gideon :( ). So I fubarred the zipper part.

I was so frustrated and stepped away from the machine, changing into my favourite Pippa Pants. 

Then I had a moment, and decided to hack the beautiful pants I made from zipper front to Pippa Pants style!

Here's how I hacked the Cargo Slim Pants:


Take the cargo pants pattern, and place it underneath the Pippa Pants pattern (or one with a rise you really like - non-zippered pants pattern only!).


Draw on the Cargo Pants pattern where to cut away from the front curve and the front seam as pictured above. 

Note, that you will have to likely trim down these parts (in red) to get the perfect fit, so I recommend a basting stitch for the front portion when we get to that step, so it's easy to trim off a bit at a time. 


 Next step is starting the Moto pattern!

Using your modified Cargo Pants front pants pattern piece, cut a rectangle with the desired height, and as wide as the both of the largest widths of the pants front leg (thigh area) - so one thigh length x 2 + a bit extra just in case. 

I opted for a height from the top of my knee (fit the pattern piece on yourself, and determine where the top of the knee hits, and add 1/2"-1") to the bottom of where the side pocket hit. 

Then start drawing lines across the  about 1.5" from the top, and draw lines every 1/2"

I used chalk - you can use whatever pencil or marker you would normally mark with (make sure it can wash or wipe off easily!).


Start folding the fabric about 1.5" from the top of the widest part of the rectangle. Press the fold with your iron (I like using steam here), and sew with 1/4" seam allowance.


Repeat this step until you reach the last line.


Tape together several pieces of paper, and lay them across your already-cut front pants leg thigh area. 

I've noted where the grain line is, mid thigh line (as per pattern piece), and that this is the thigh panel for the Moto fabric. 

Trace the existing side legs, and draw your Moto angle line as pictured. 


Cut out the paper pattern piece, and place it on the already-cut front pants fabric. 


Trace the lines onto the pants fabric with washable chalk, marker, etc.


Then cut with a 5/8" seam allowance above the knee line, and below the thigh line. 


If you are walking away from your pants at this point, remember to pin your left legs together, and right legs together...otherwise you may sew the wrong one onto the wrong leg side later on!


Take the pattern piece for the Moto section, and cut out mirror imaged Moto pieces from your folded Moto fabric - one for the left leg, the other for the right leg.


Now match up the top thigh leg piece with the top angle of the Moto fabric. 


Pin together right sides together.


Sew together with a 5/8" seam allowance.  Press open and iron flat.


I topstitched to make it look pretty.


Repeat these steps to sew the bottom part of the leg onto the bottom of the Moto fabric. Press and Topstitch.

Sew together the side seams of both sets of legs so now your front and back leg pieces are together. 


I took the Pippa Waistband (regular height), and sewed it together in a loop, marking Quarters afterwards.  

I do recommend putting elastic in the waistband to keep your pants up like Urkle!


Put one leg inside out. 


Put the legs together, right sides facing each other. 

Pin along the crotch seam, and sew it up with a BASTING STITCH. Just like in the Pippa Pattern.


 Before putting on the waistband, try on the pants, and trim 1/4" or so at a time from the areas that are baggy.  There are plenty of tutorials online if you're unsure where to start with adjustments here. 

Once you are happy with the fit, do your final sew - whether it's a stretch stitch, or serging. 

Mark to top of your pants into Quarters, pin on the waistband, and sew on your waistband. I topstitched afterwards to make it pretty. 

Next, Hem your pants to the preferred length with a stretch or decorative stitch. 

And voila - awesome fitting cargo cut pants that make your caboose look amazing, and you don't have to worry about zippers!

So grab yourself some Slim Fit Cargo Pants and sew up your hacked pair (or not!) today.  Let me know how it goes!


***Affiliate Links Above used - I love these patterns, and without the help of those who love their patterns, marketing would be extremely difficult for the pattern makers we love and learn to love. Affiliate links help with the hours, fabric, and tears that go behind testing each pattern in order to provide a real-person view on the patterns for you (and me!)